
Maybe its because I’m a lifelong Girl Scout, or maybe its just a fangirl thing, but I’ve earned a lot of Trailhead badges and I want to display them (read: wear them)! I’m super proud of my 200+ badges and I really want to show them off! Some ways to use these badges:
- They would make excellent flair at any Salesforce event, or even fun giveaways at your next User Group meeting.
- You could wear your latest Superbadge on your collar so everyone asks you what it is.
- You could walk around with a Salesforce sash and a Ranger hat and be the geekiest Salesforce geek there ever was.
Lots of possibilities here! Tracie and I are even plotting to create vests for Dreamforce ’19! No matter how you want to wear them, or how you want to use them, here’s how we made our Trailhead badges come to life.
Supplies
I did all my shopping on Amazon so it arrived quickly and I didn’t have to go to more than one store. My local craft store didn’t have bottlecaps. Points to you if you have a stash of bottlecaps already that you just knew you’d have a use for one day! Total project costs should be about $25, depending on how many you make, of course.
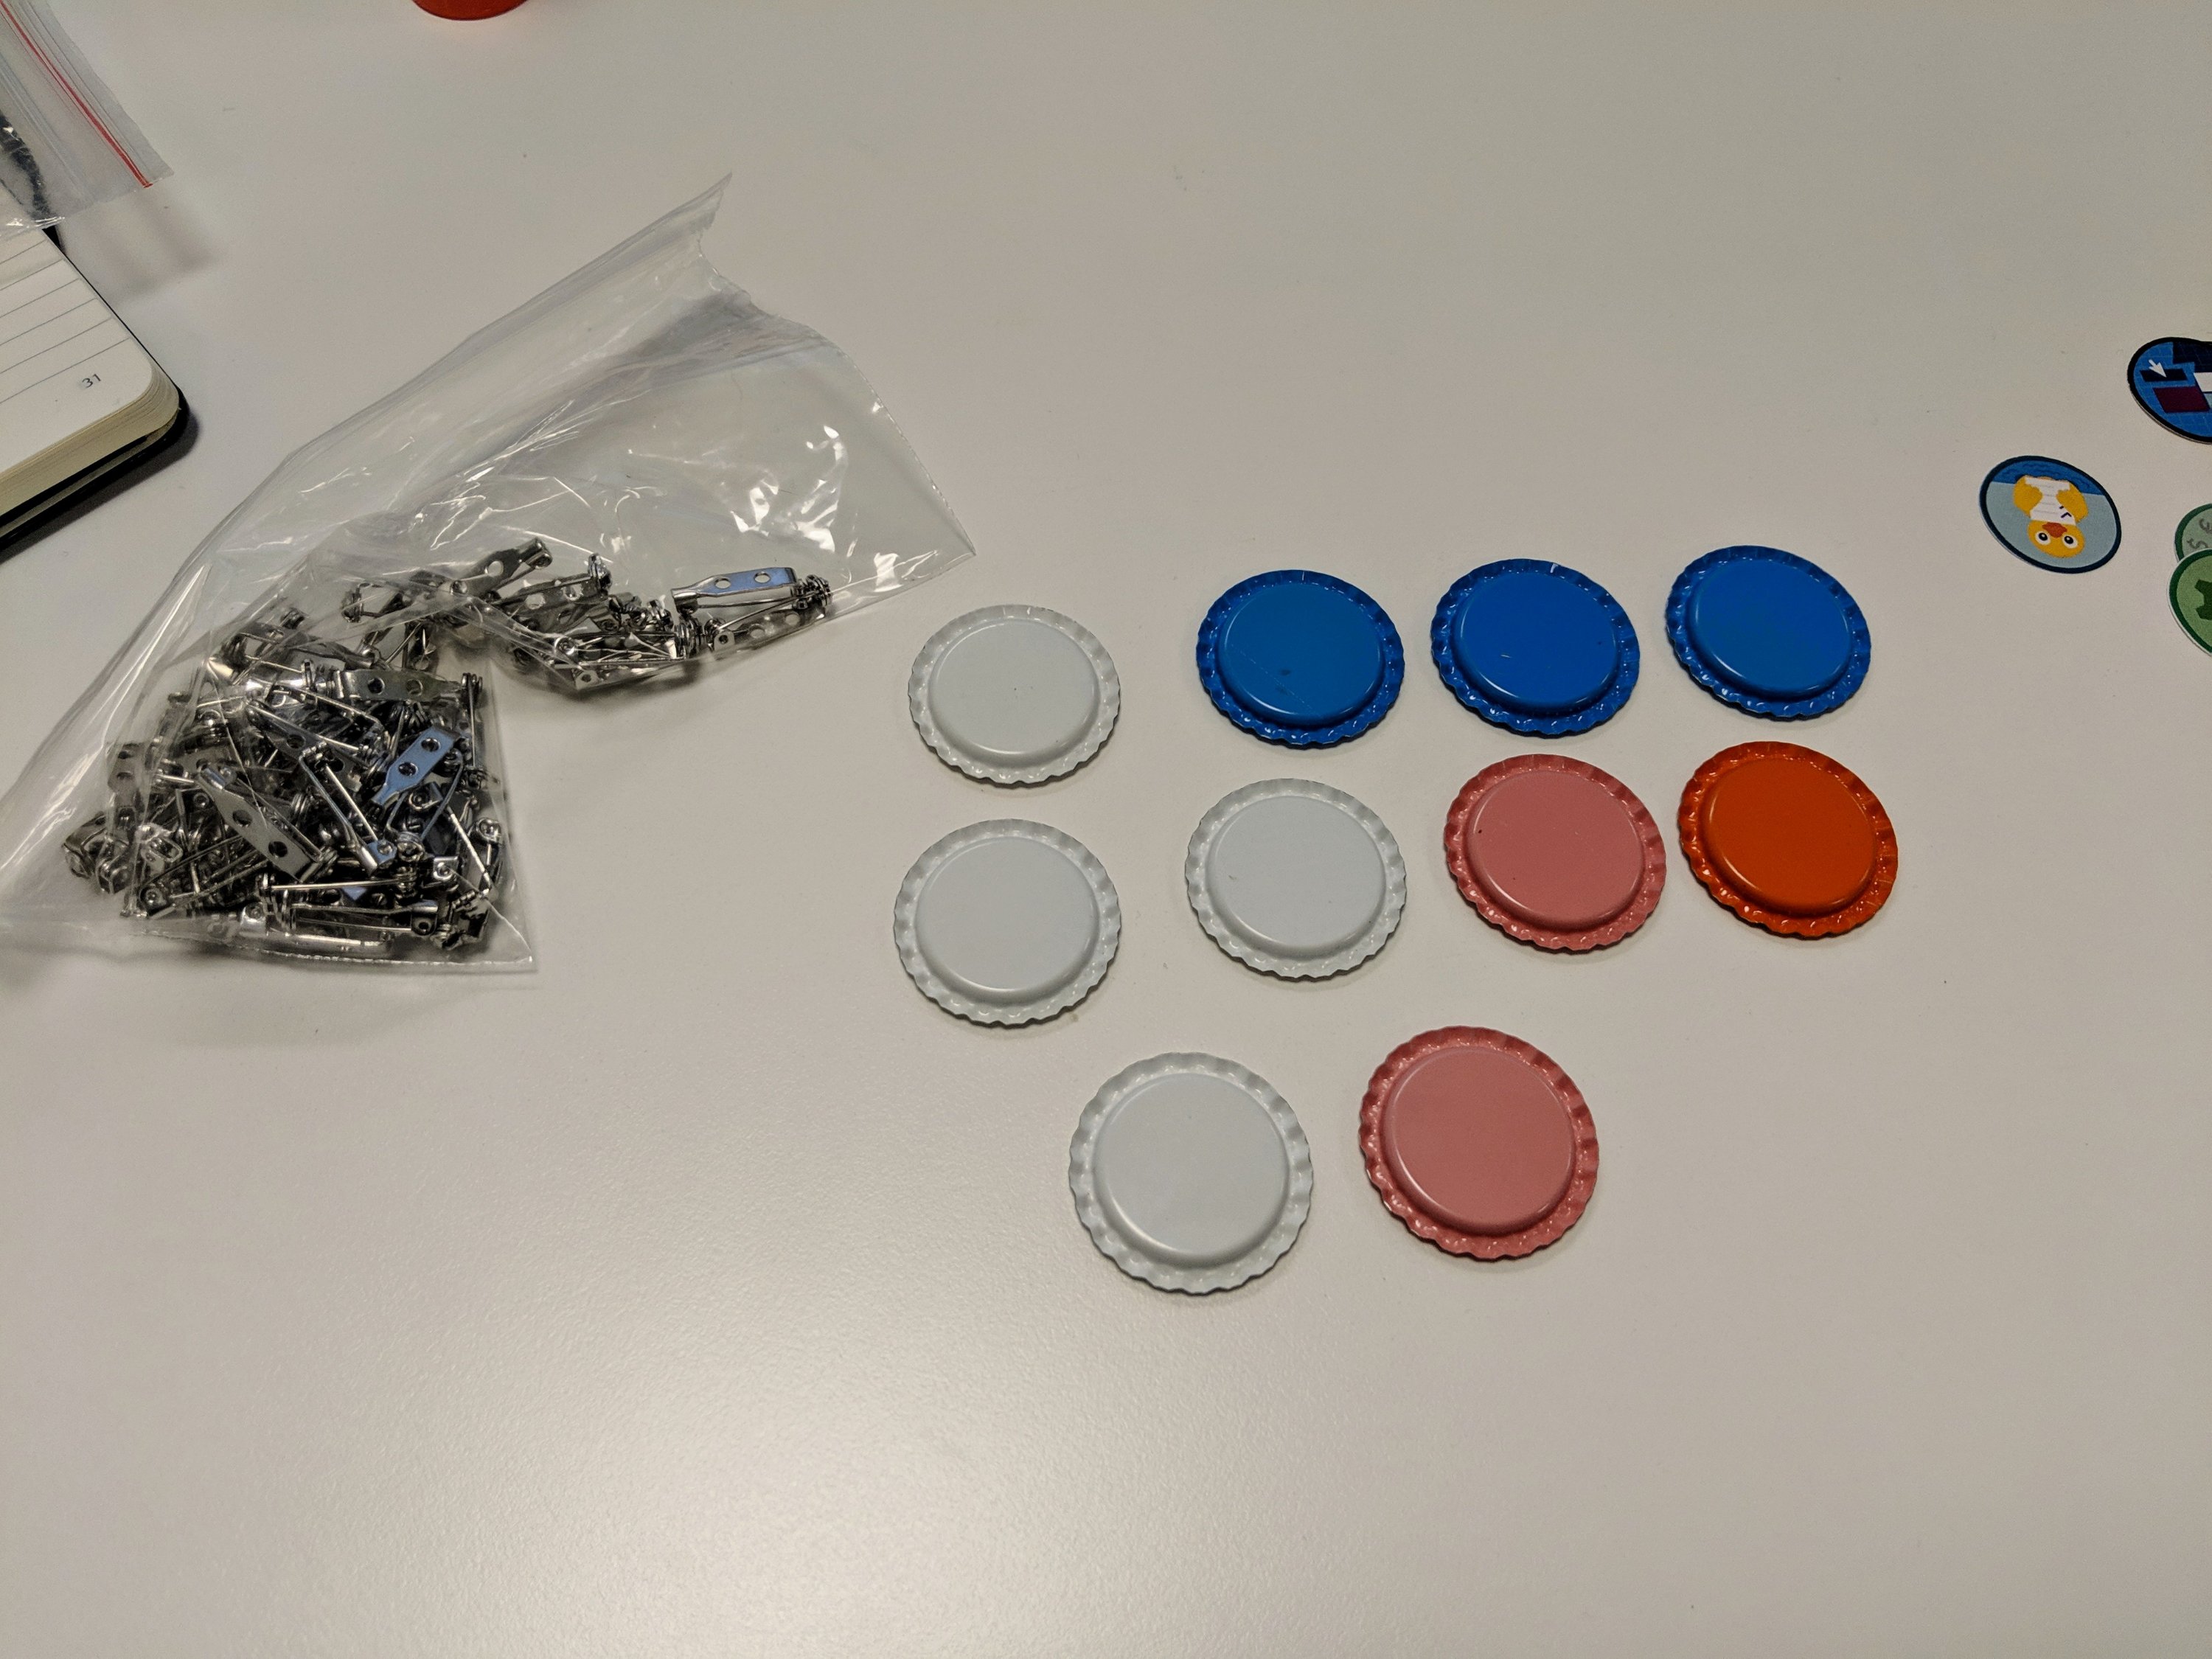
- Bottlecaps – I got this pack of 50 to start. They come in different colors (that actually match the Trailhead badges). If you decide to make more than that, I recommend buying each color you need separately.
- Epoxy Dots – the kit above actually comes with 50 dots, but when I needed more I got this pack of 300.
- 1″ Circle Punch – totally optional, but unless you think cutting lots of circles is fun, this is a time-saver and a hand-saver for sure. I got this one and it works great!
- Glue – I just used an extra strength gluestick that I found in my daughter’s room, but I think you could use any glue. It should dry quickly and clear.
- Pins – I got flatback safety pins, but you could get any sort of pinback you want. Or even magnets, depending on what you want to use these for. I chose a .75″ size so that the pin would be hidden completely. More ideas on this at the end of the post.
- Color Printer – for printing all your badges, of course
Step 1: grab and print all your badges
Not going to lie, this step gets really boring, especially if you have a lot of badges, but its necessary. I went to my Trailhead profile page and filtered on ‘all badges’ and also hit “show all” just so I wouldn’t have to load more later and lose my place. Then all you need to do is right click on each badge image, copy, and paste into your favorite layout software. I prefer Microsoft Powerpoint, but anything that accepts images would work. To speed up the process, I copy/pasted in groups of about 20.
Once you have the badge images, you need to resize them all to 1″ x 1″. You can just do a select all and resize them all at once. Once they are the right size, align them on your page so you fit as many possible and aren’t wasting paper. I was able to fit 48 per 8 1/2″ x 11″ page. Once you’ve got them all done, print!
You’ll need to change your printer settings to not “fit to page”. That will stretch or shrink your badges and then they wouldn’t be the right size anymore. I also recommend printing just one page at first to make sure you’re good before printing all of your pages. My badges aren’t as bright as they could be. Be sure you have plenty of ink, and print on a bright white paper so they really pop.
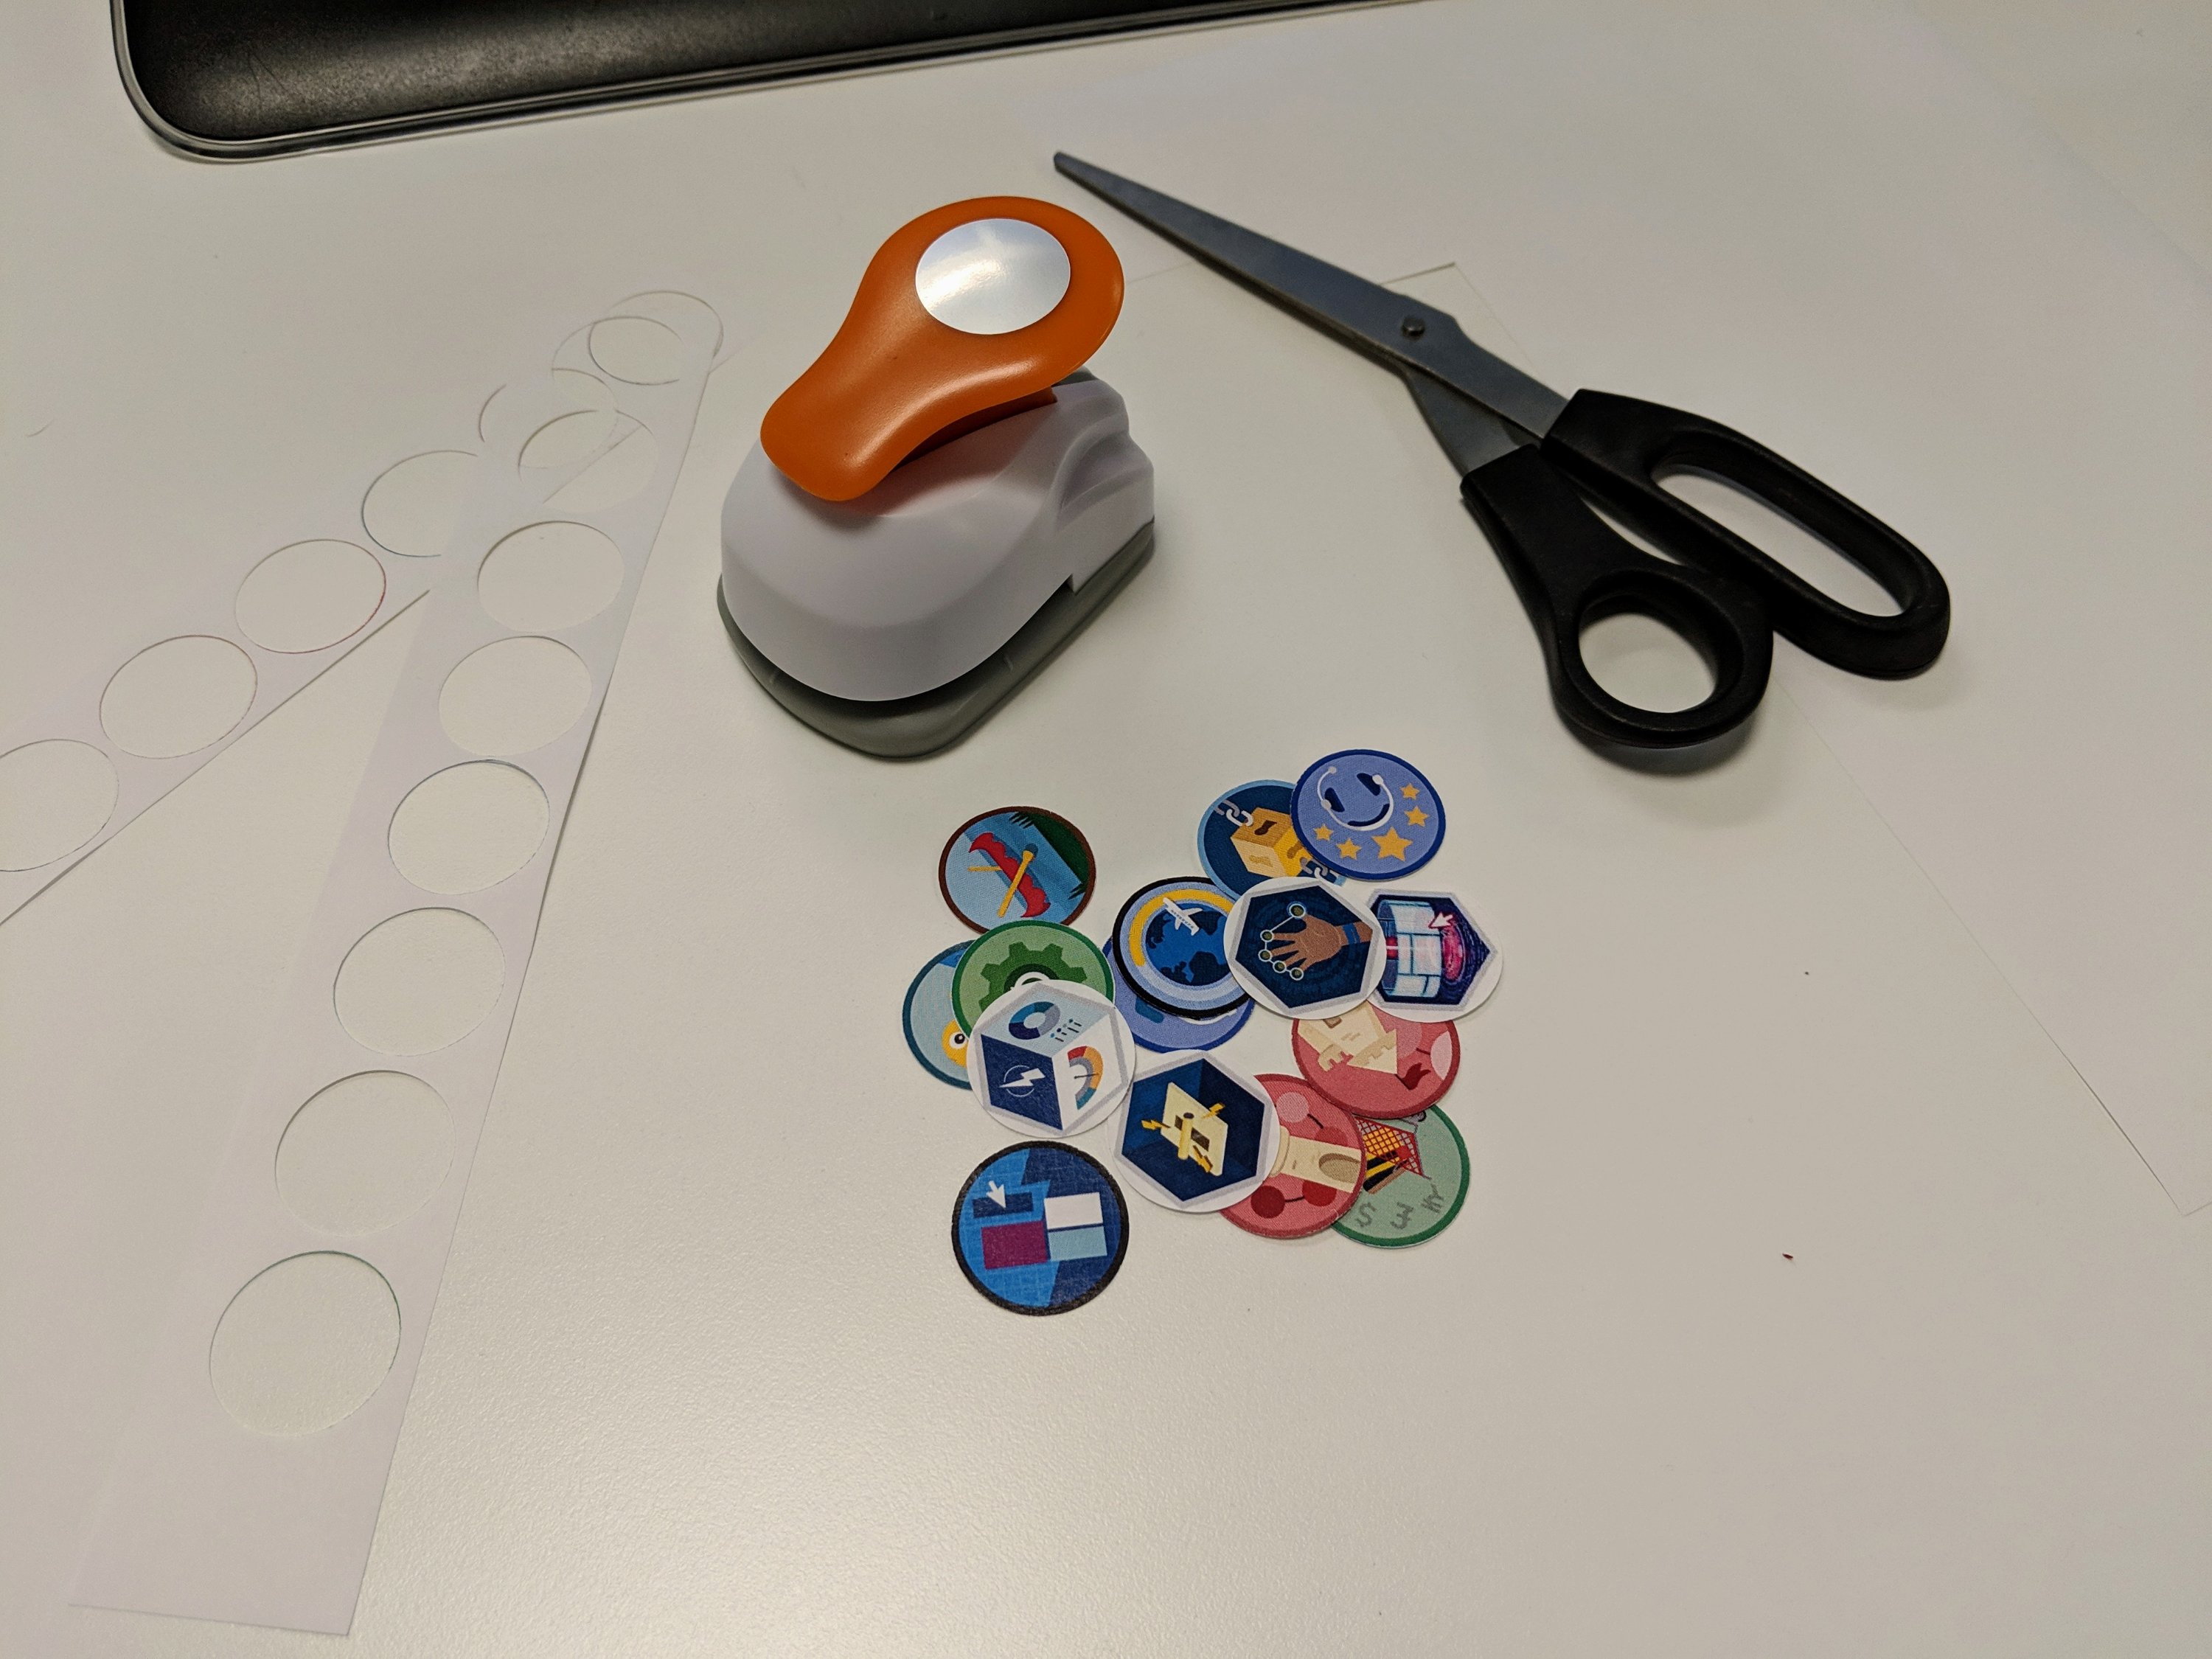
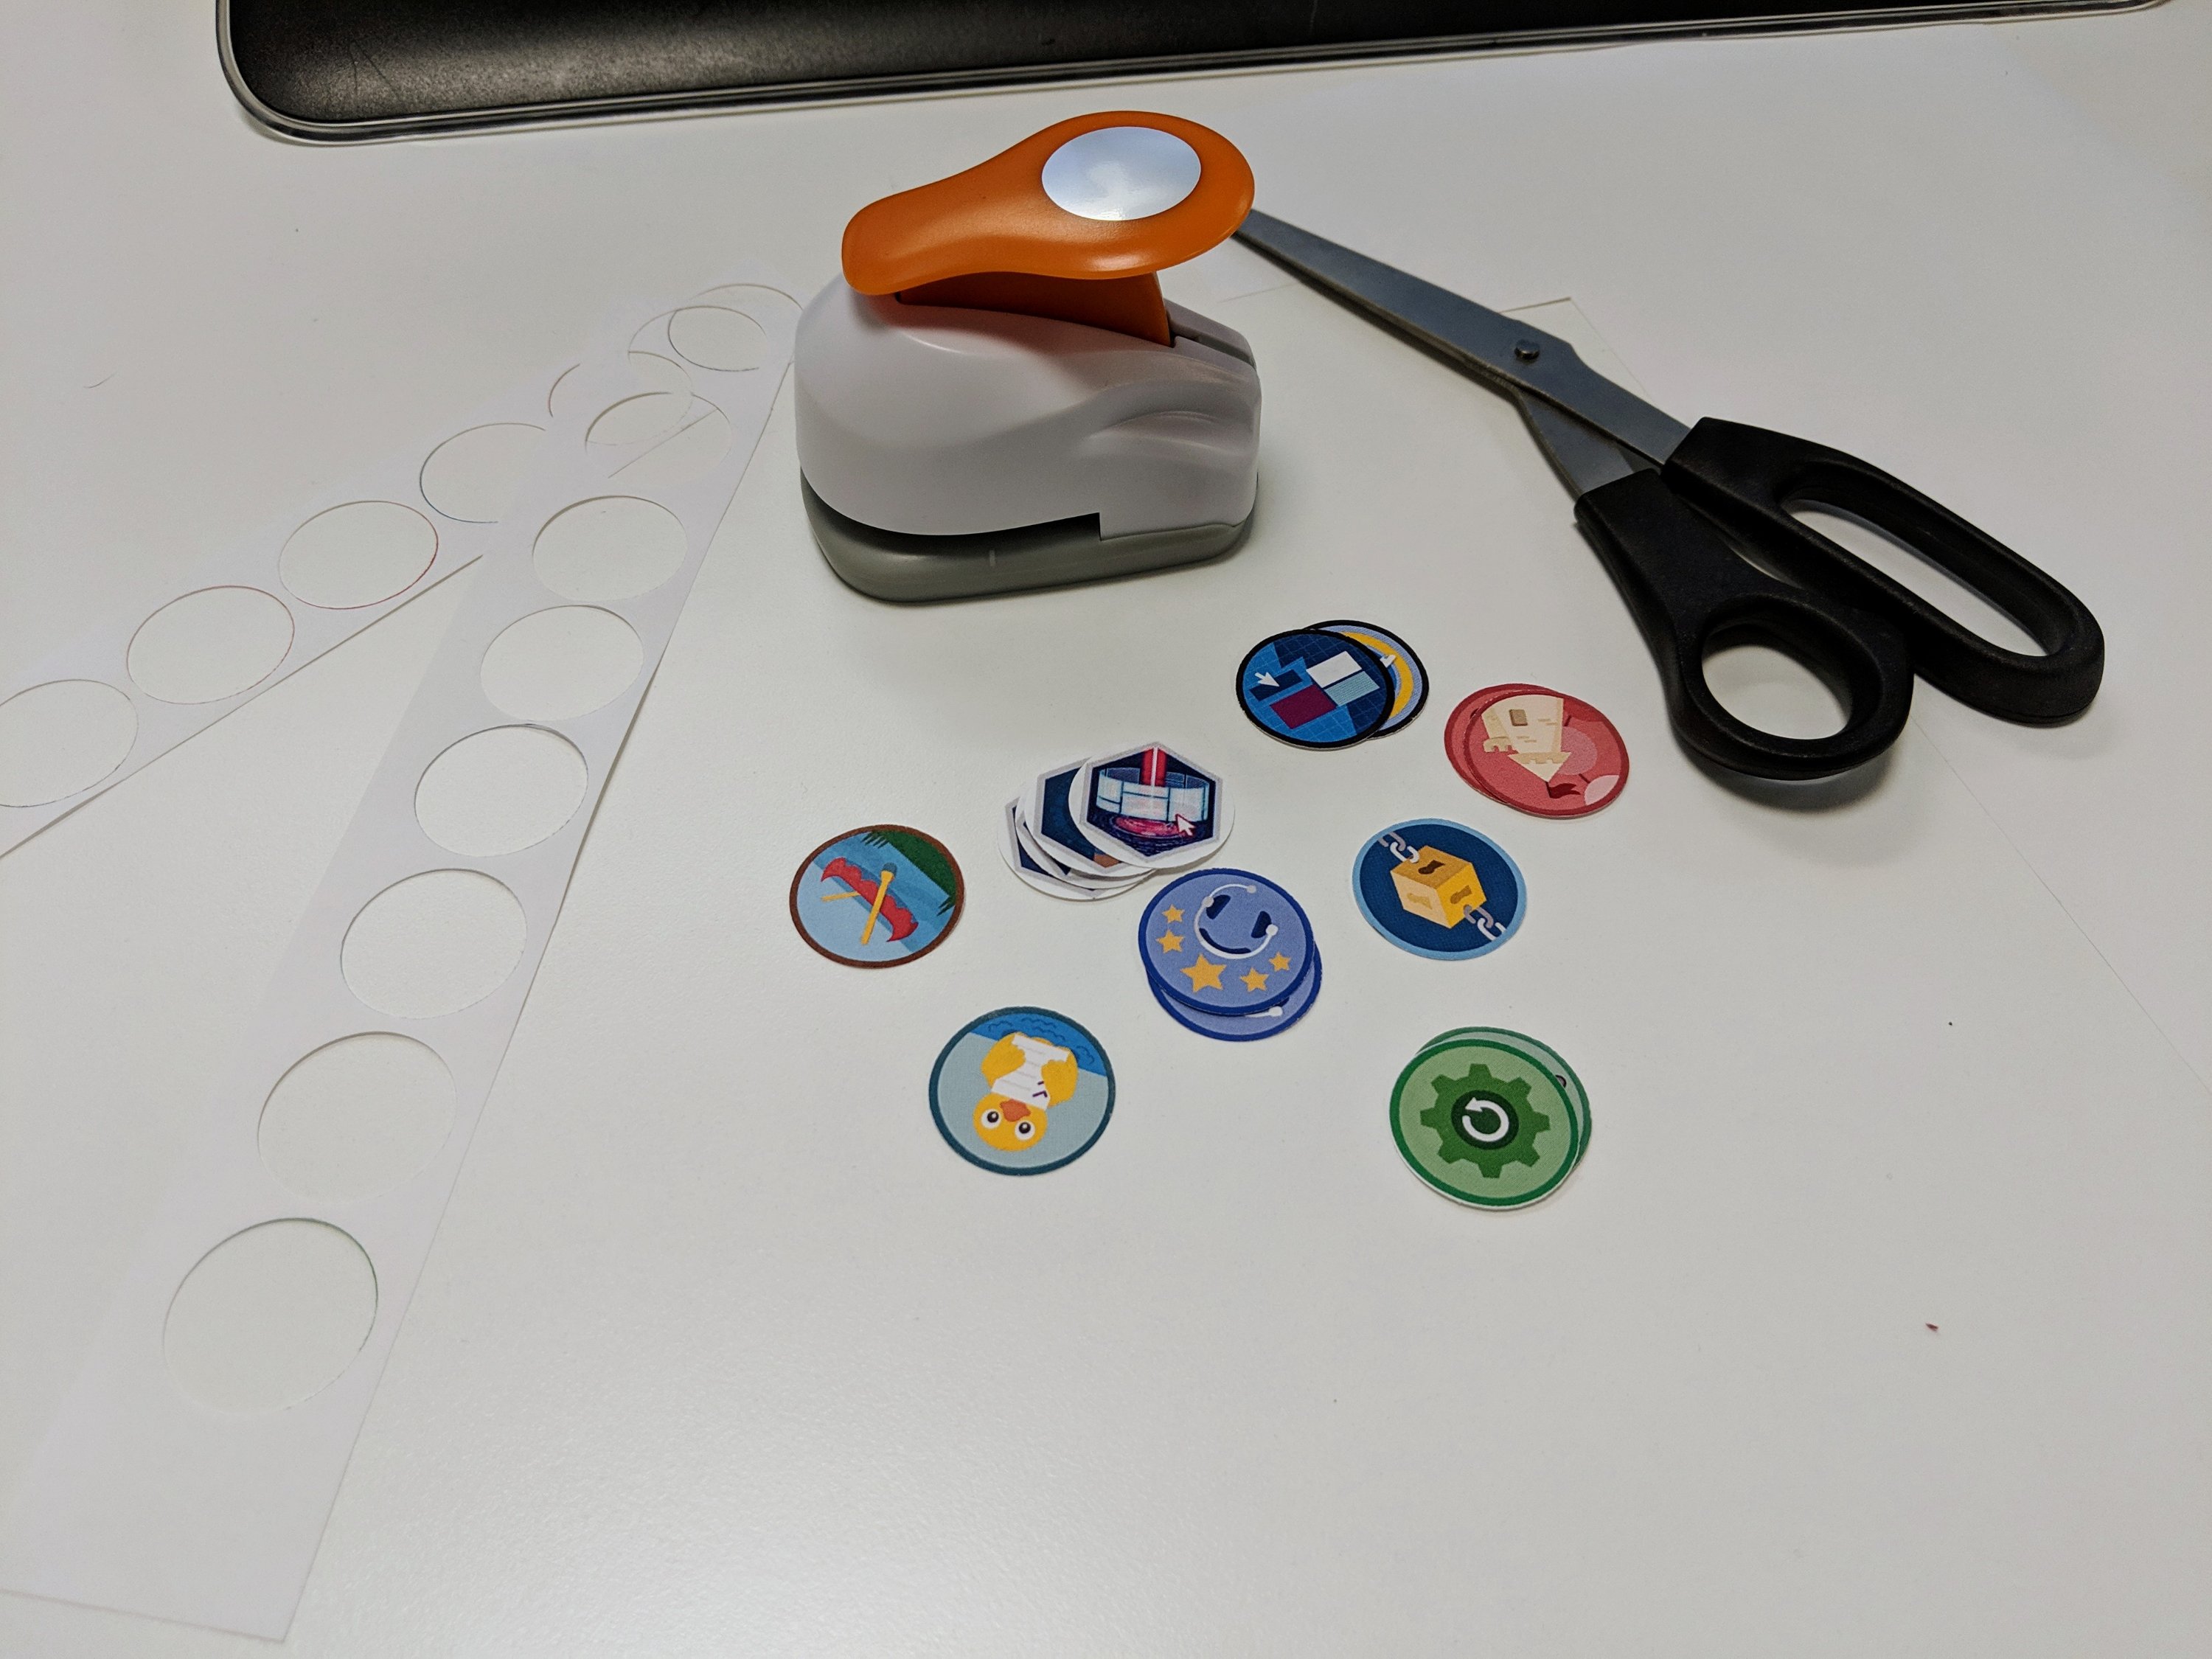
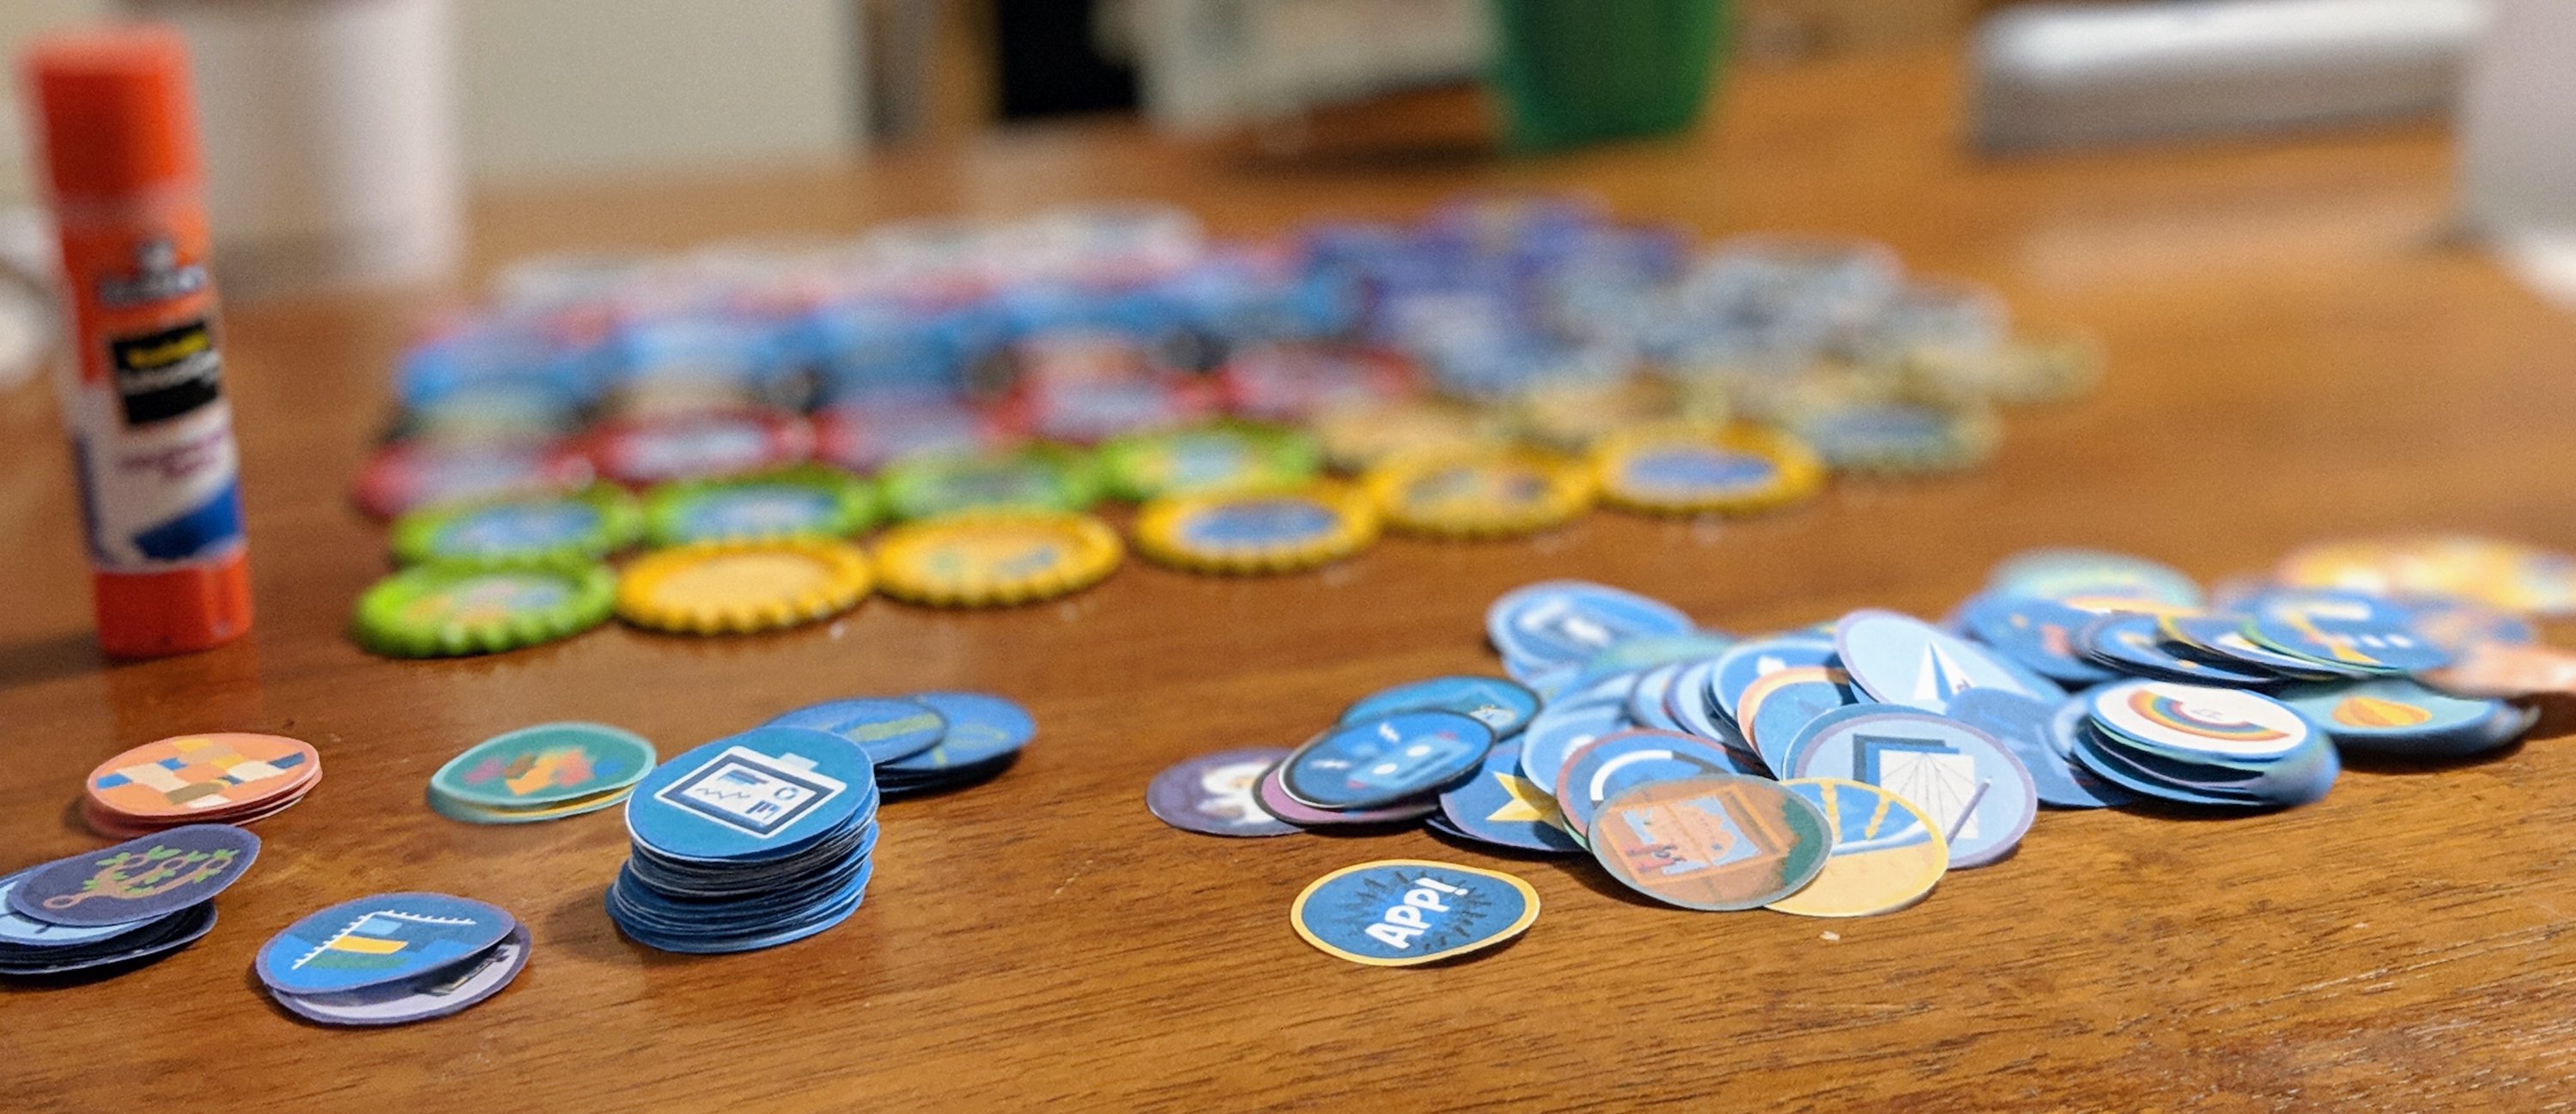
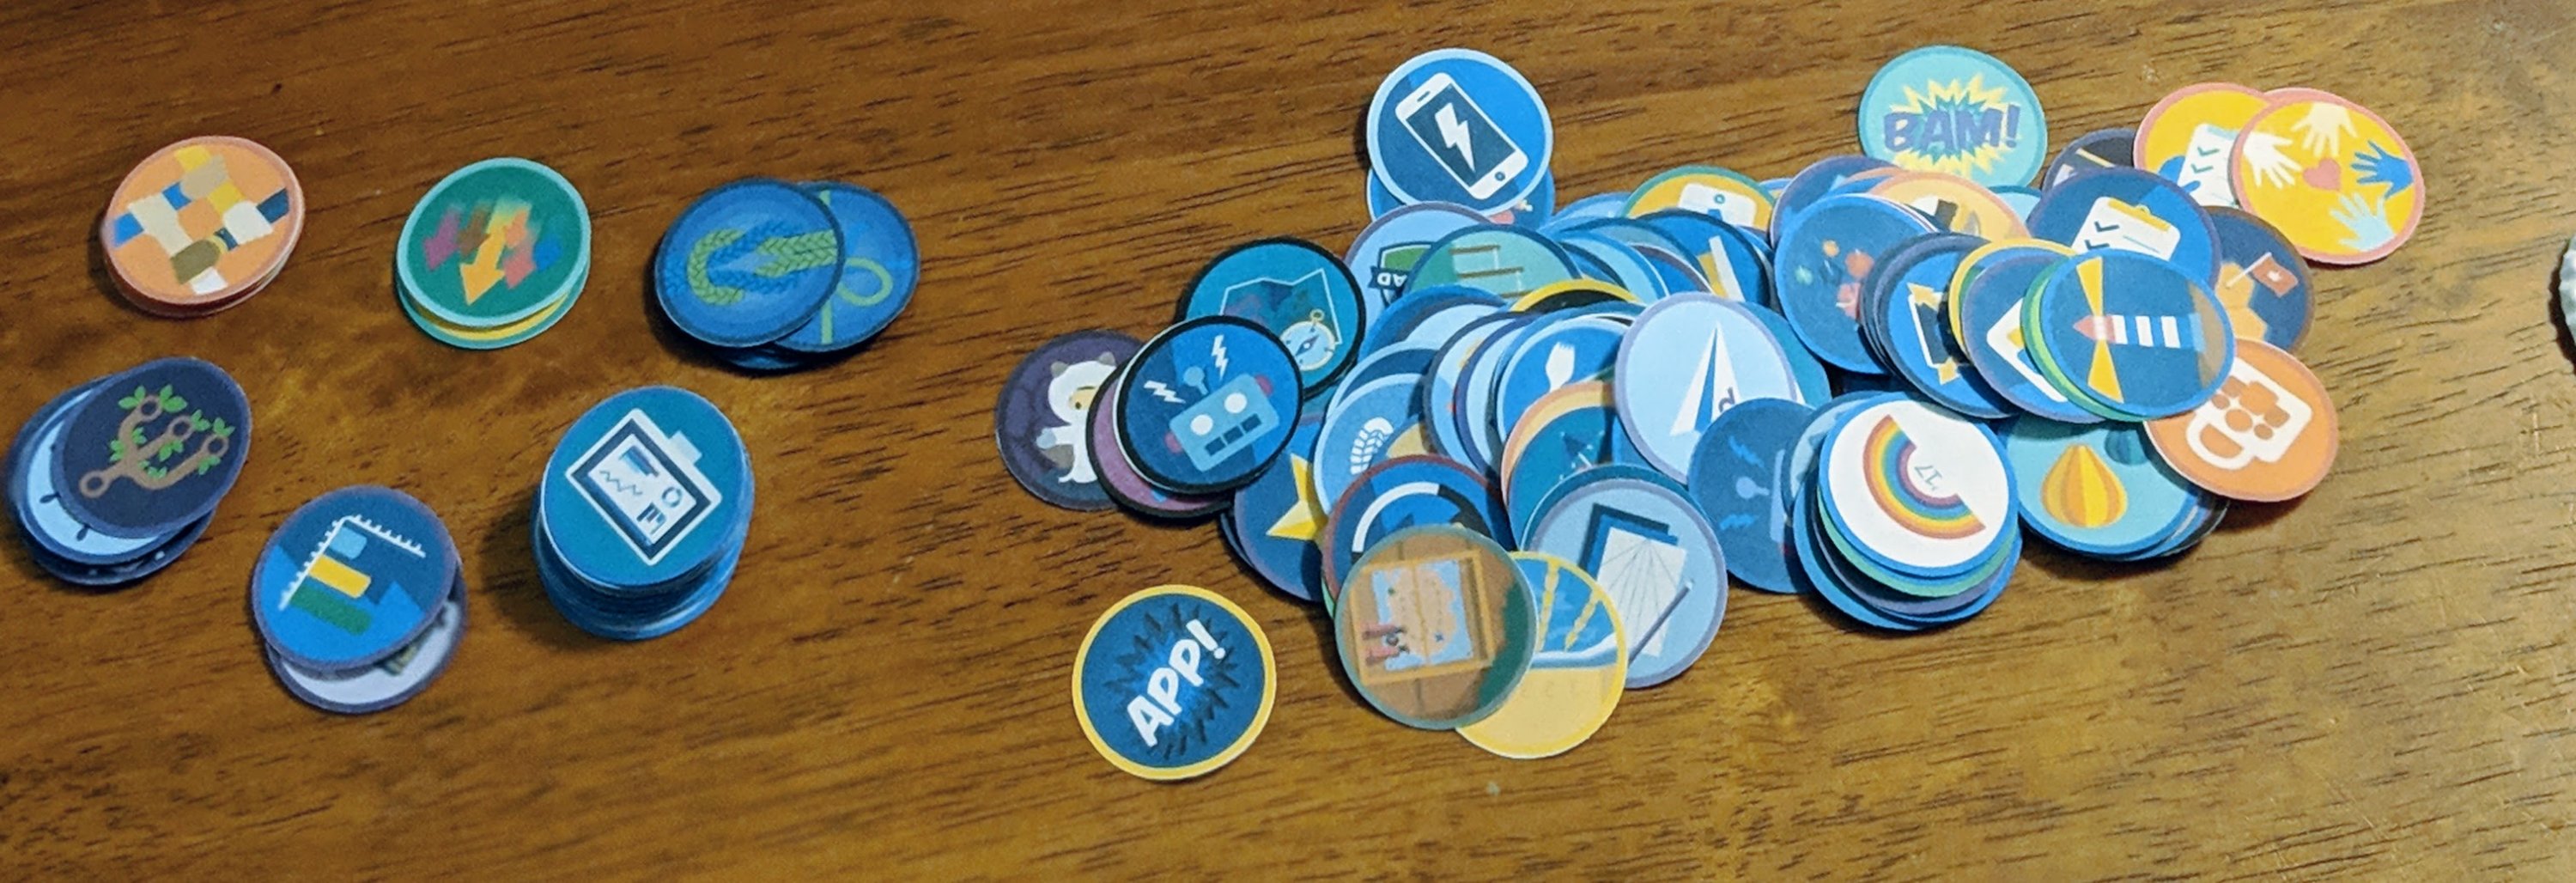
Step 2: punch, punch, punch
Once all your badges are printed, you need to cut them out. If you decided to spring for the circle punch, this should go pretty fast. If you decided to tough it out with scissors, its probably going to be a long process. Take lots of breaks and use comfortable scissors. Either way, your first step should be to cut your pages into strips. This will allow you to either punch or cut without a lot of other paper getting in the way.
After having done this about 300 times, and then having to sort them into color piles after having a giant pile of badges in front of me… I recommend sorting them into like colored piles as you go.


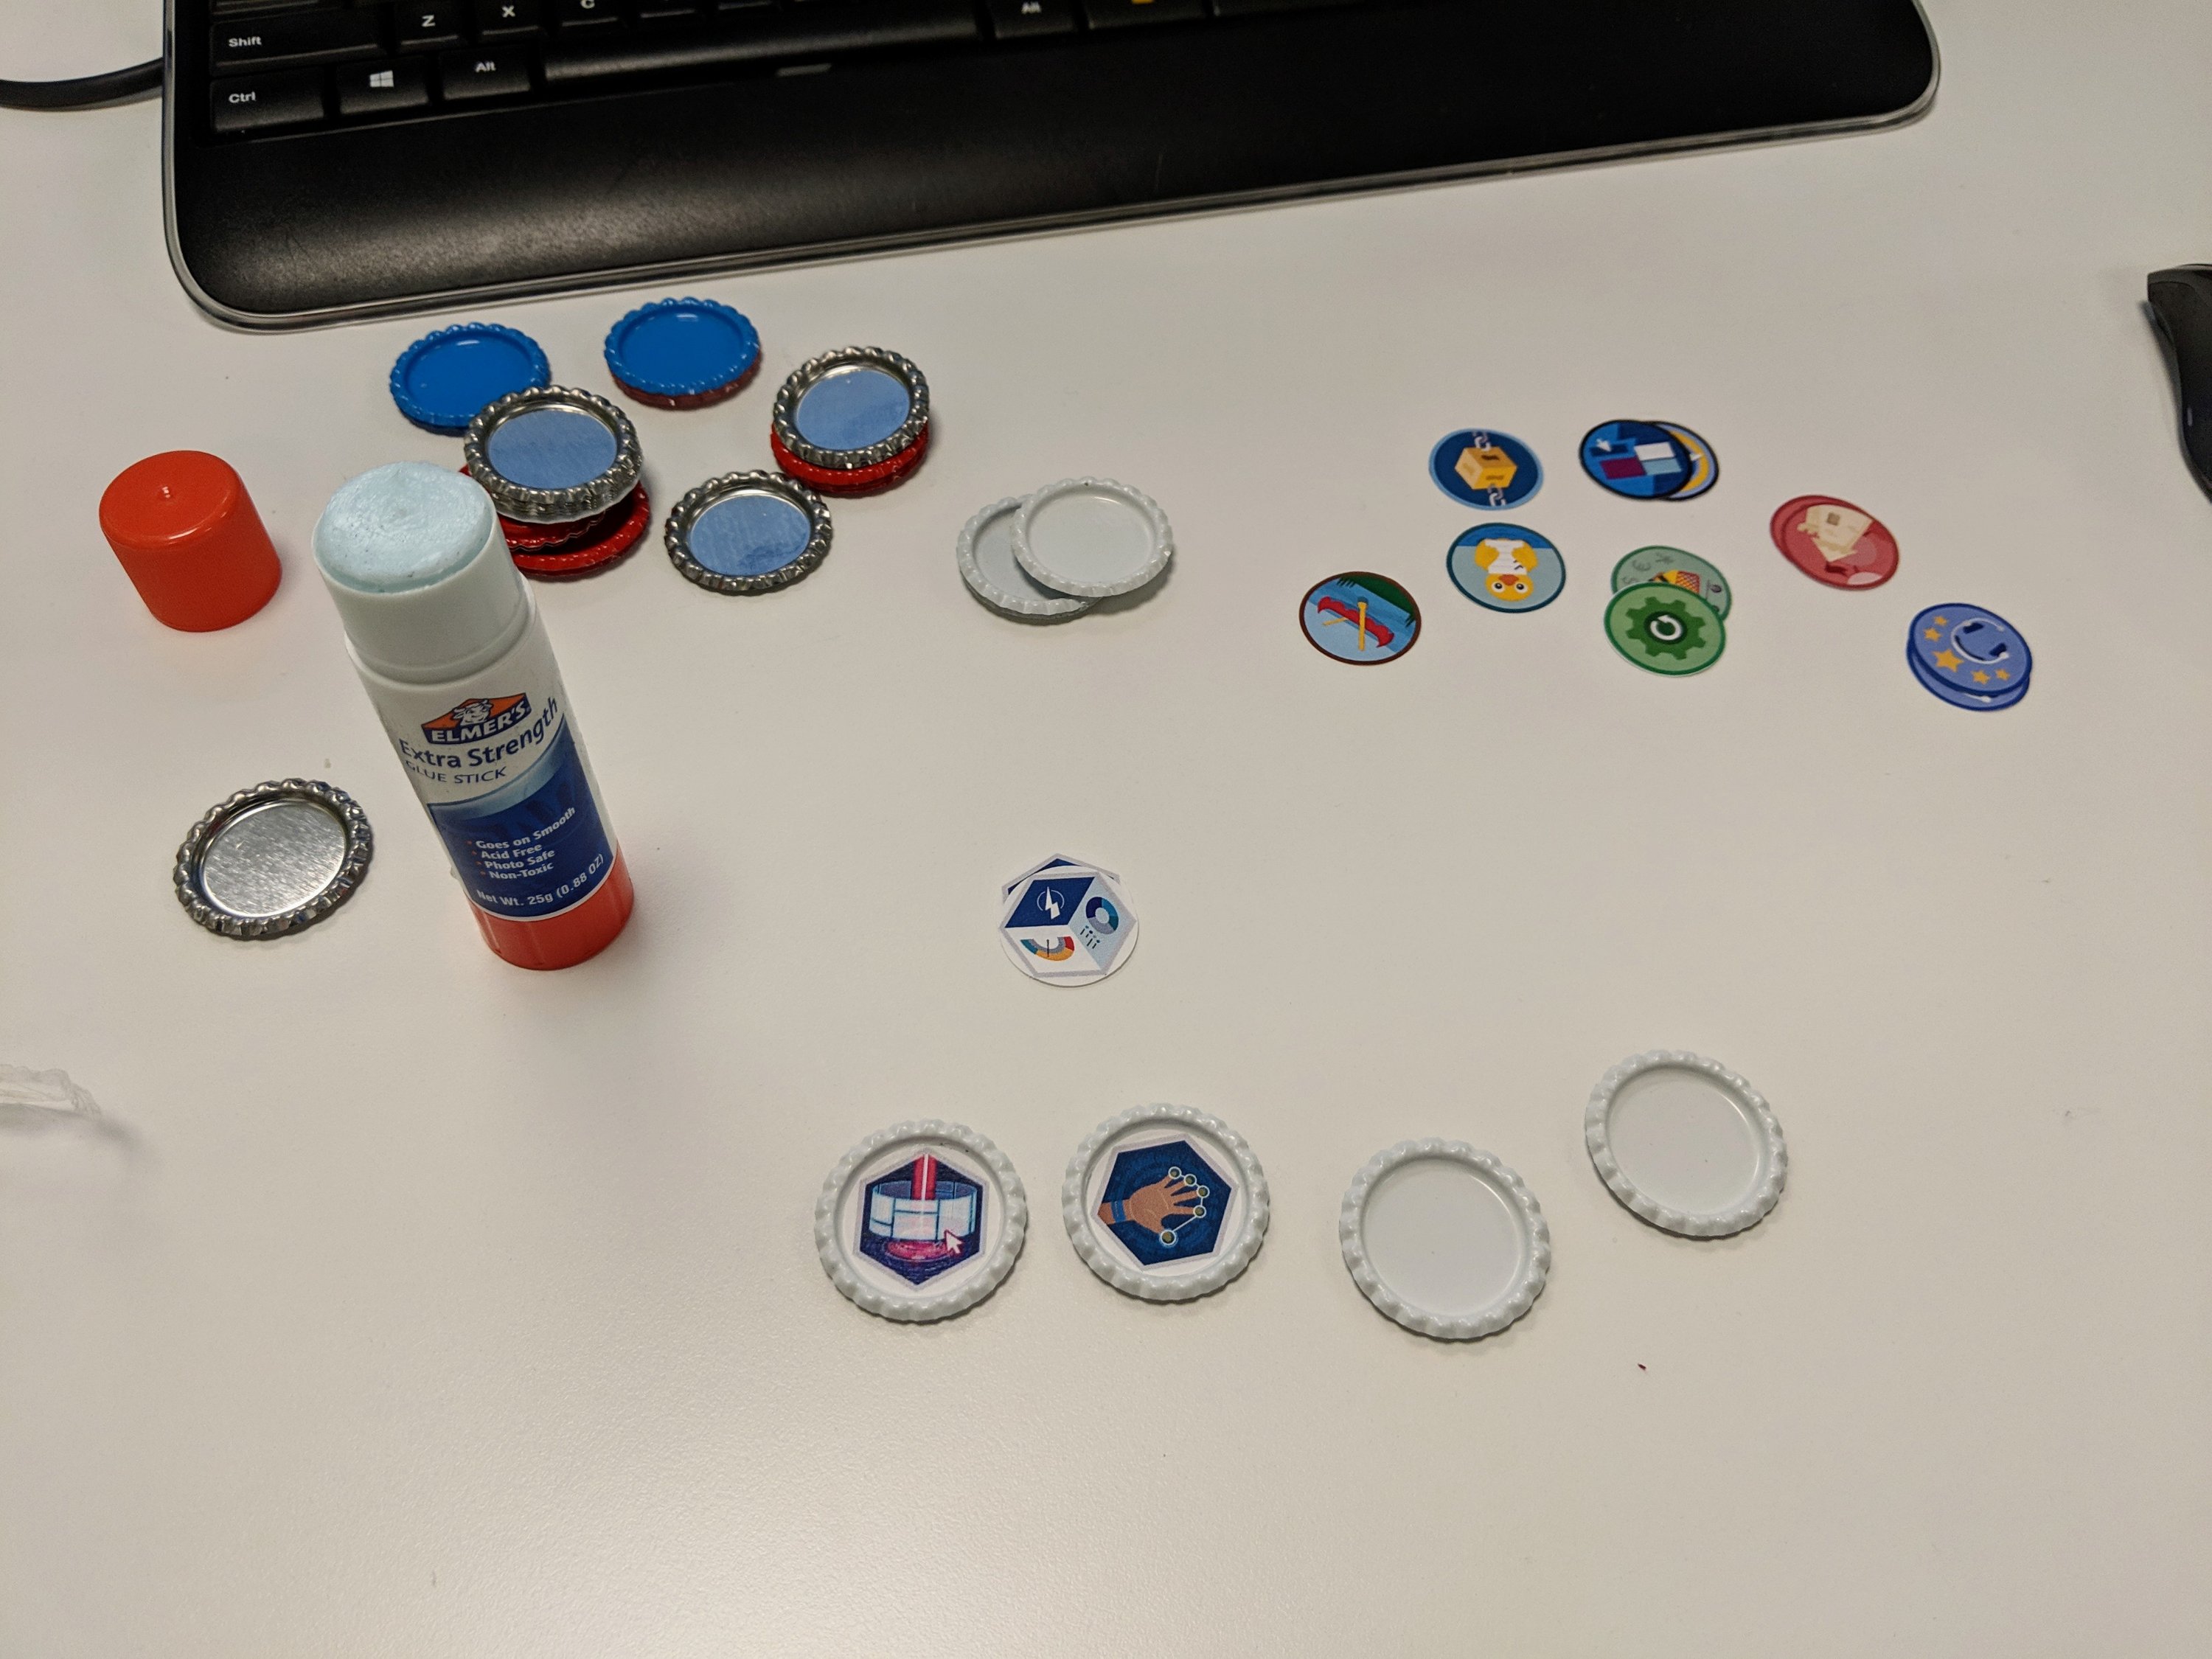
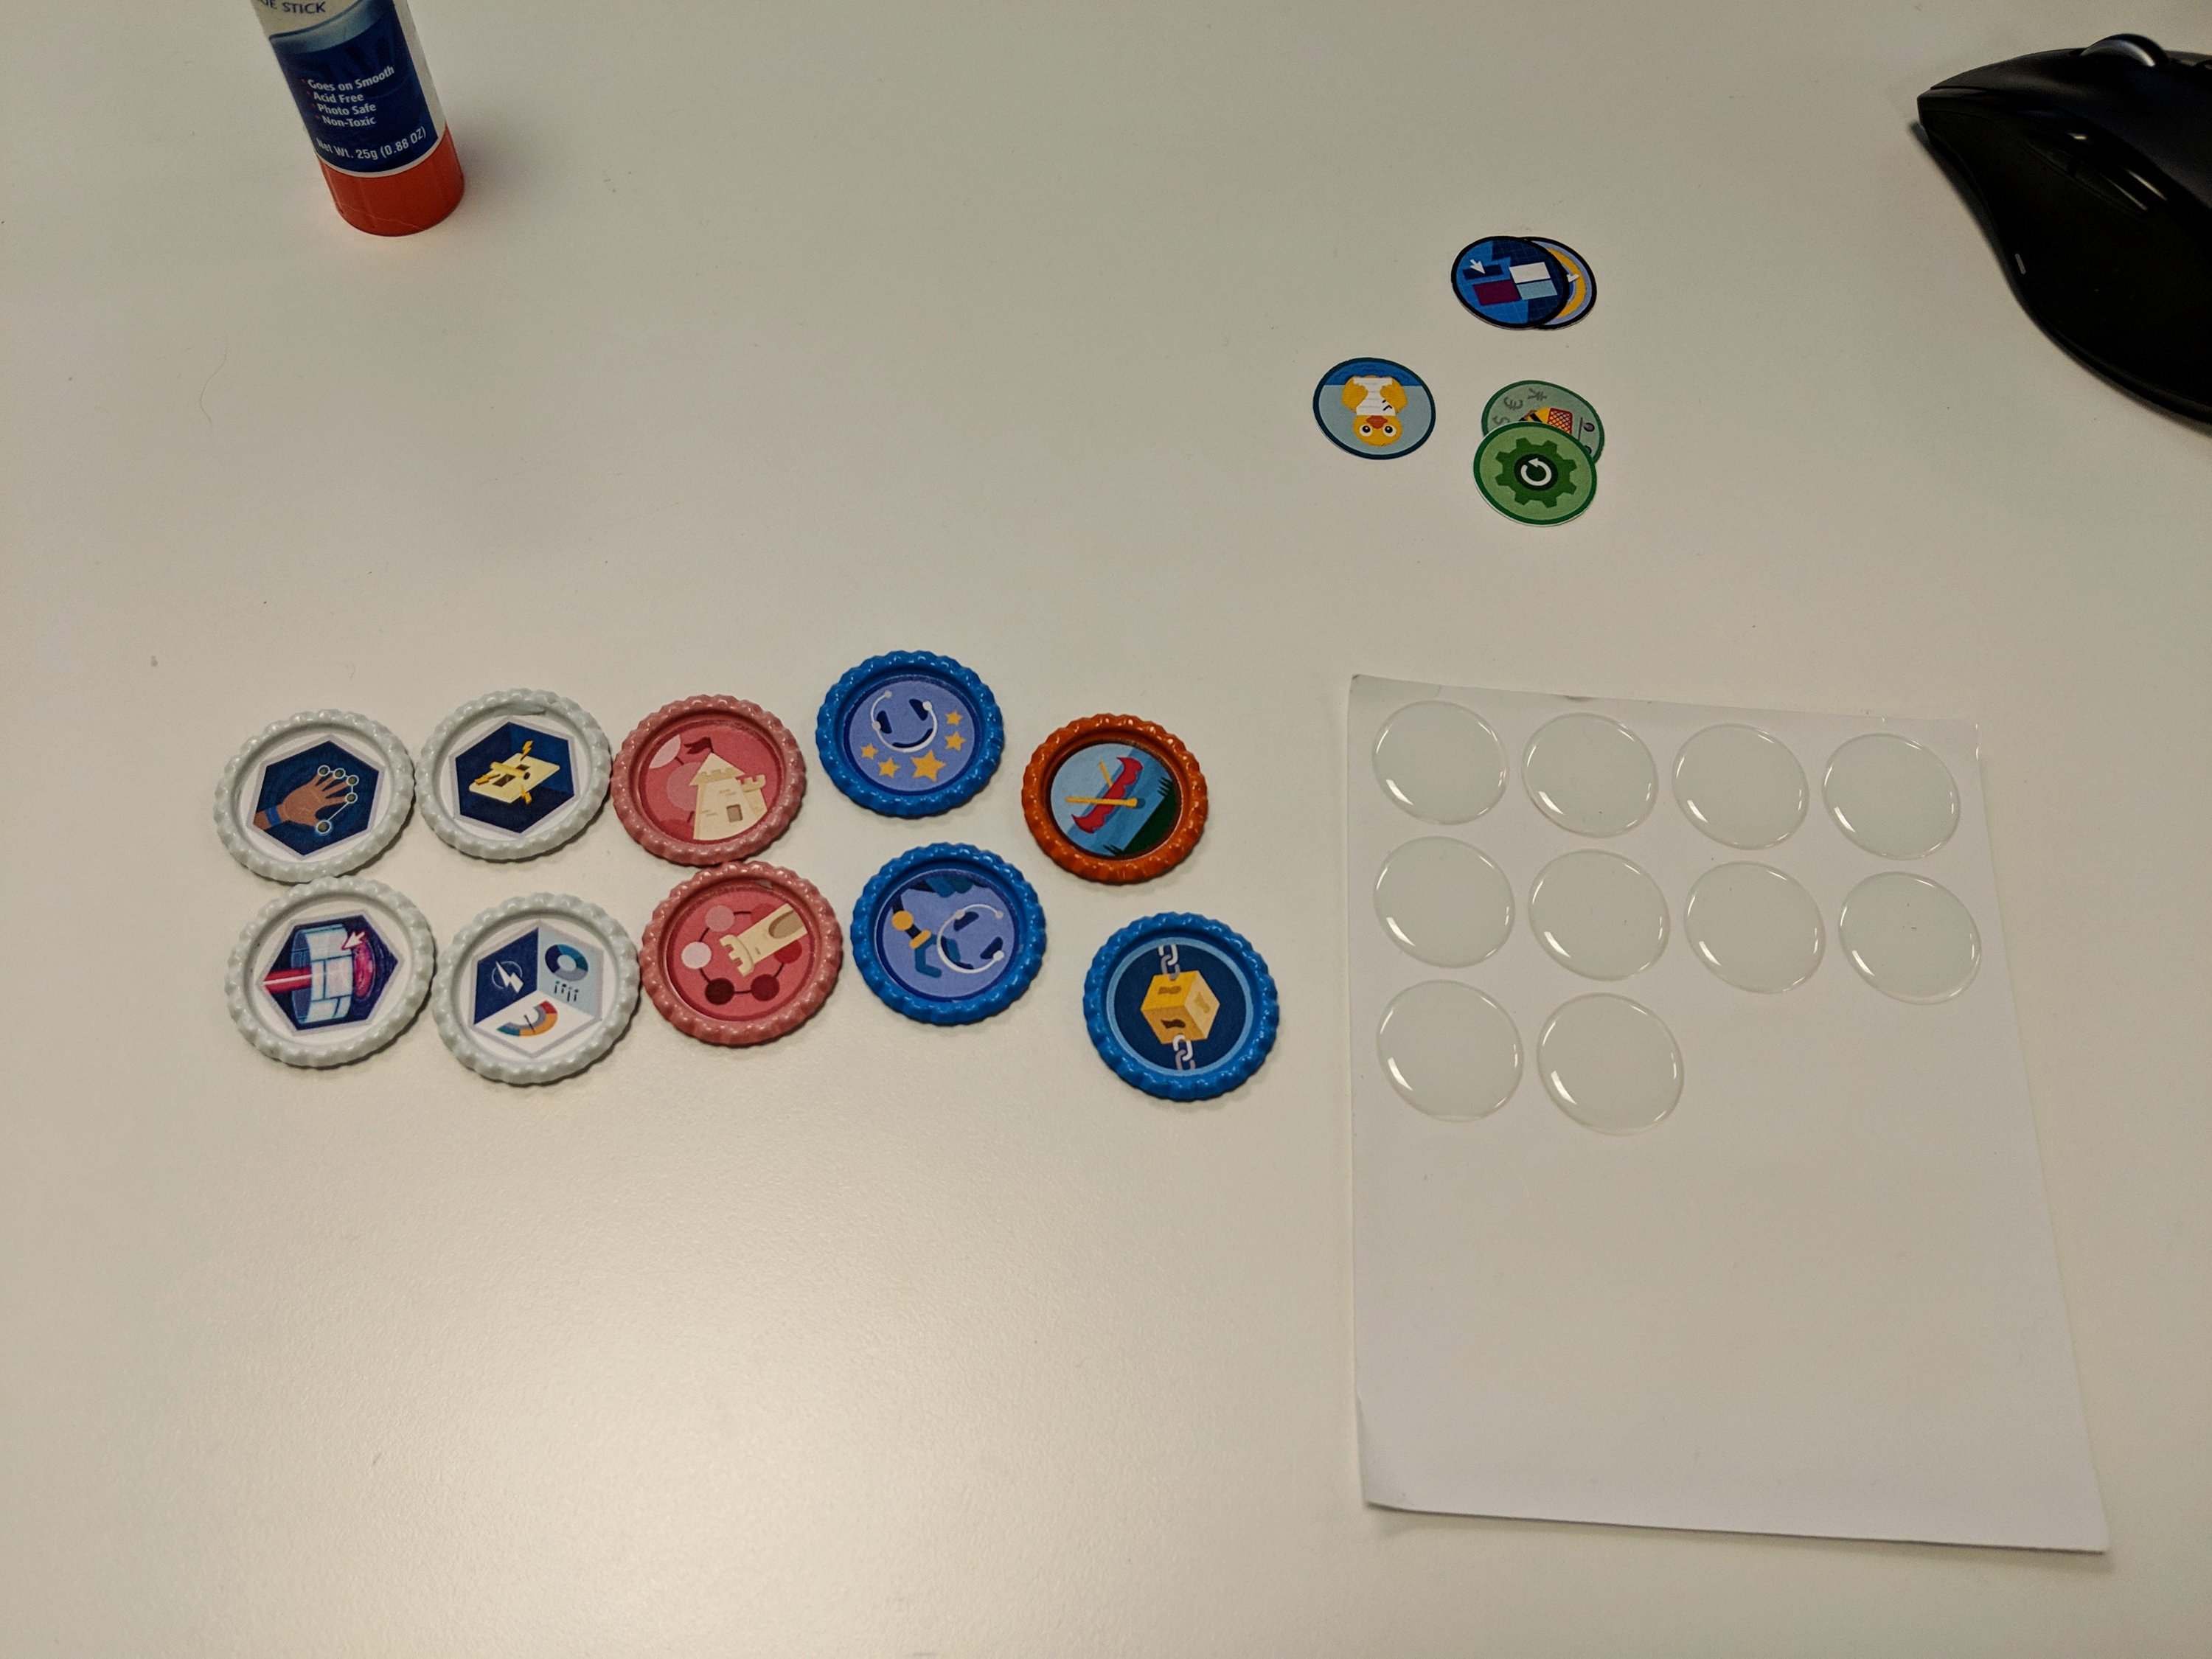
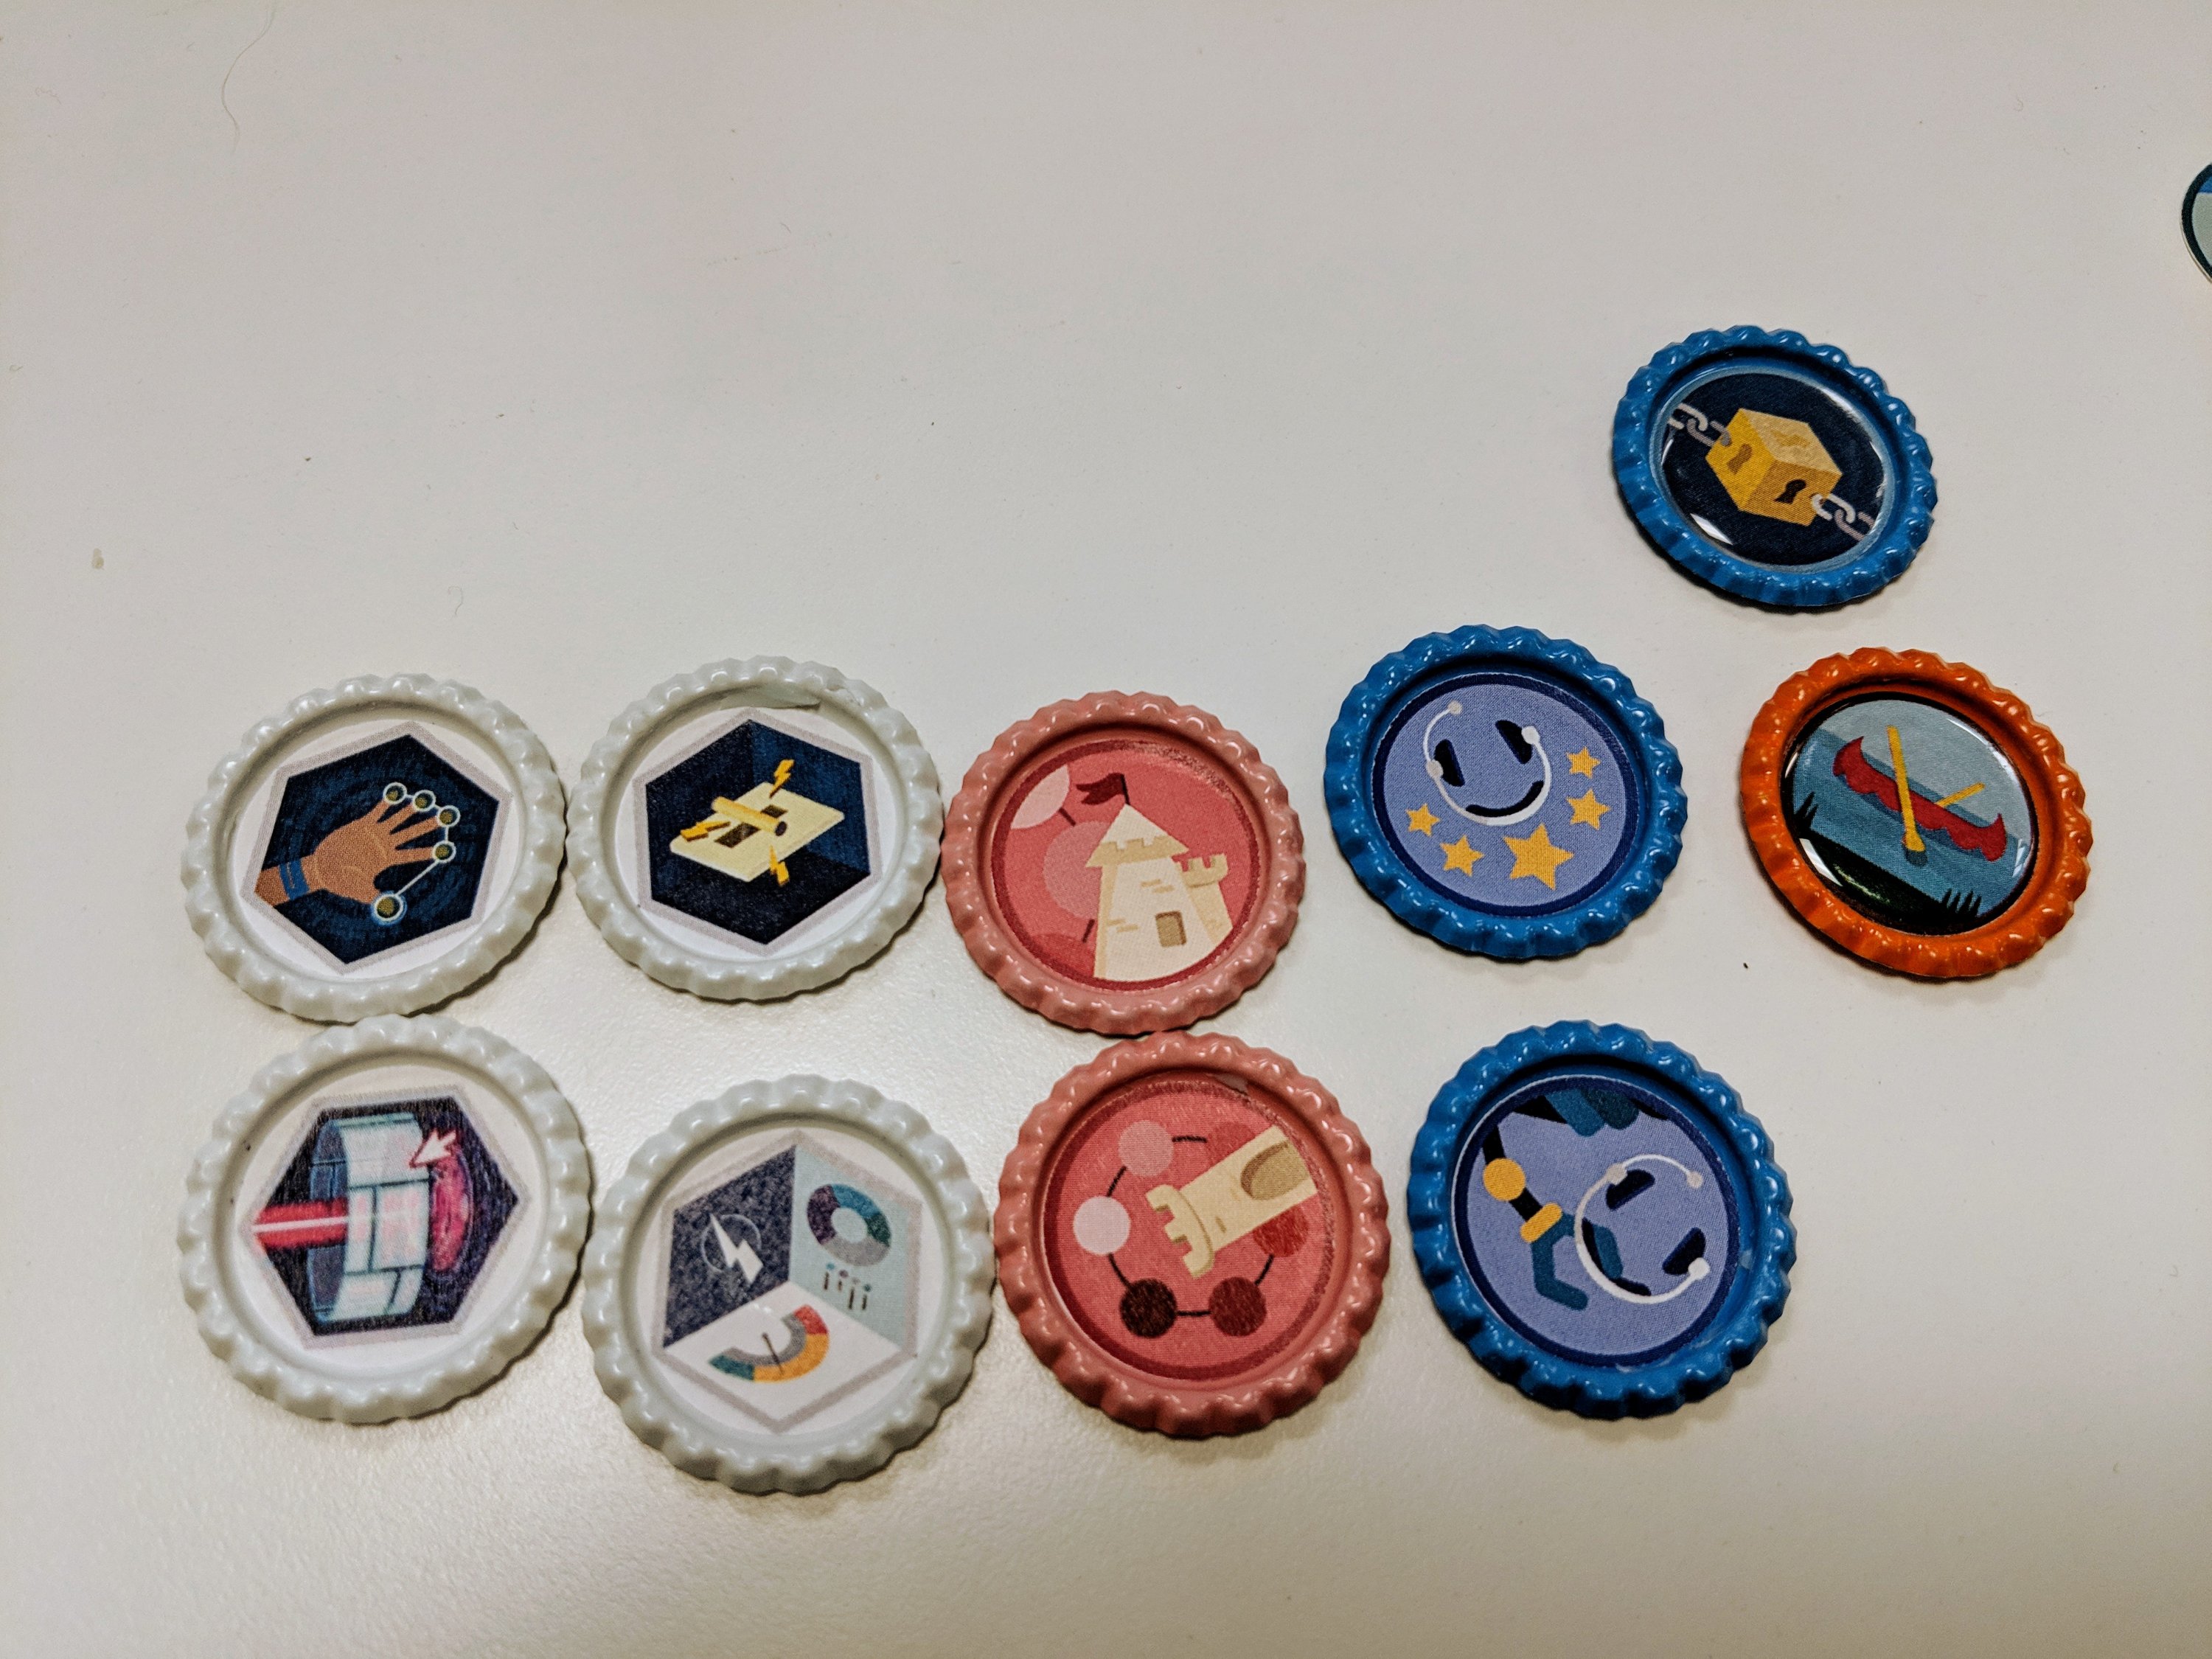
Step 3: bottlecaps, assemble!
It’s time to see these babies come to life! Pick a color, and start gluing. A small amount of glue will do the trick, so don’t get too crazy. You just need to make sure that all the edges are glued down well to the inside of your bottlecap. Take them one at a time and move completed ones to the side to dry while you move on to the next ones.
Once you’re done gluing your badge images, its time to apply the epoxy dots. (You’re almost done!) These dots already have adhesive on them, so all you need to do is peel it off the sheet and stick it in the middle of your bottlecap on top of your badge image. It’s important to make sure your glue job is good since these dots are just sticking to your badge image, not the bottlecap itself. This process goes really fast, and its super fun to watch all your badges start to shine!

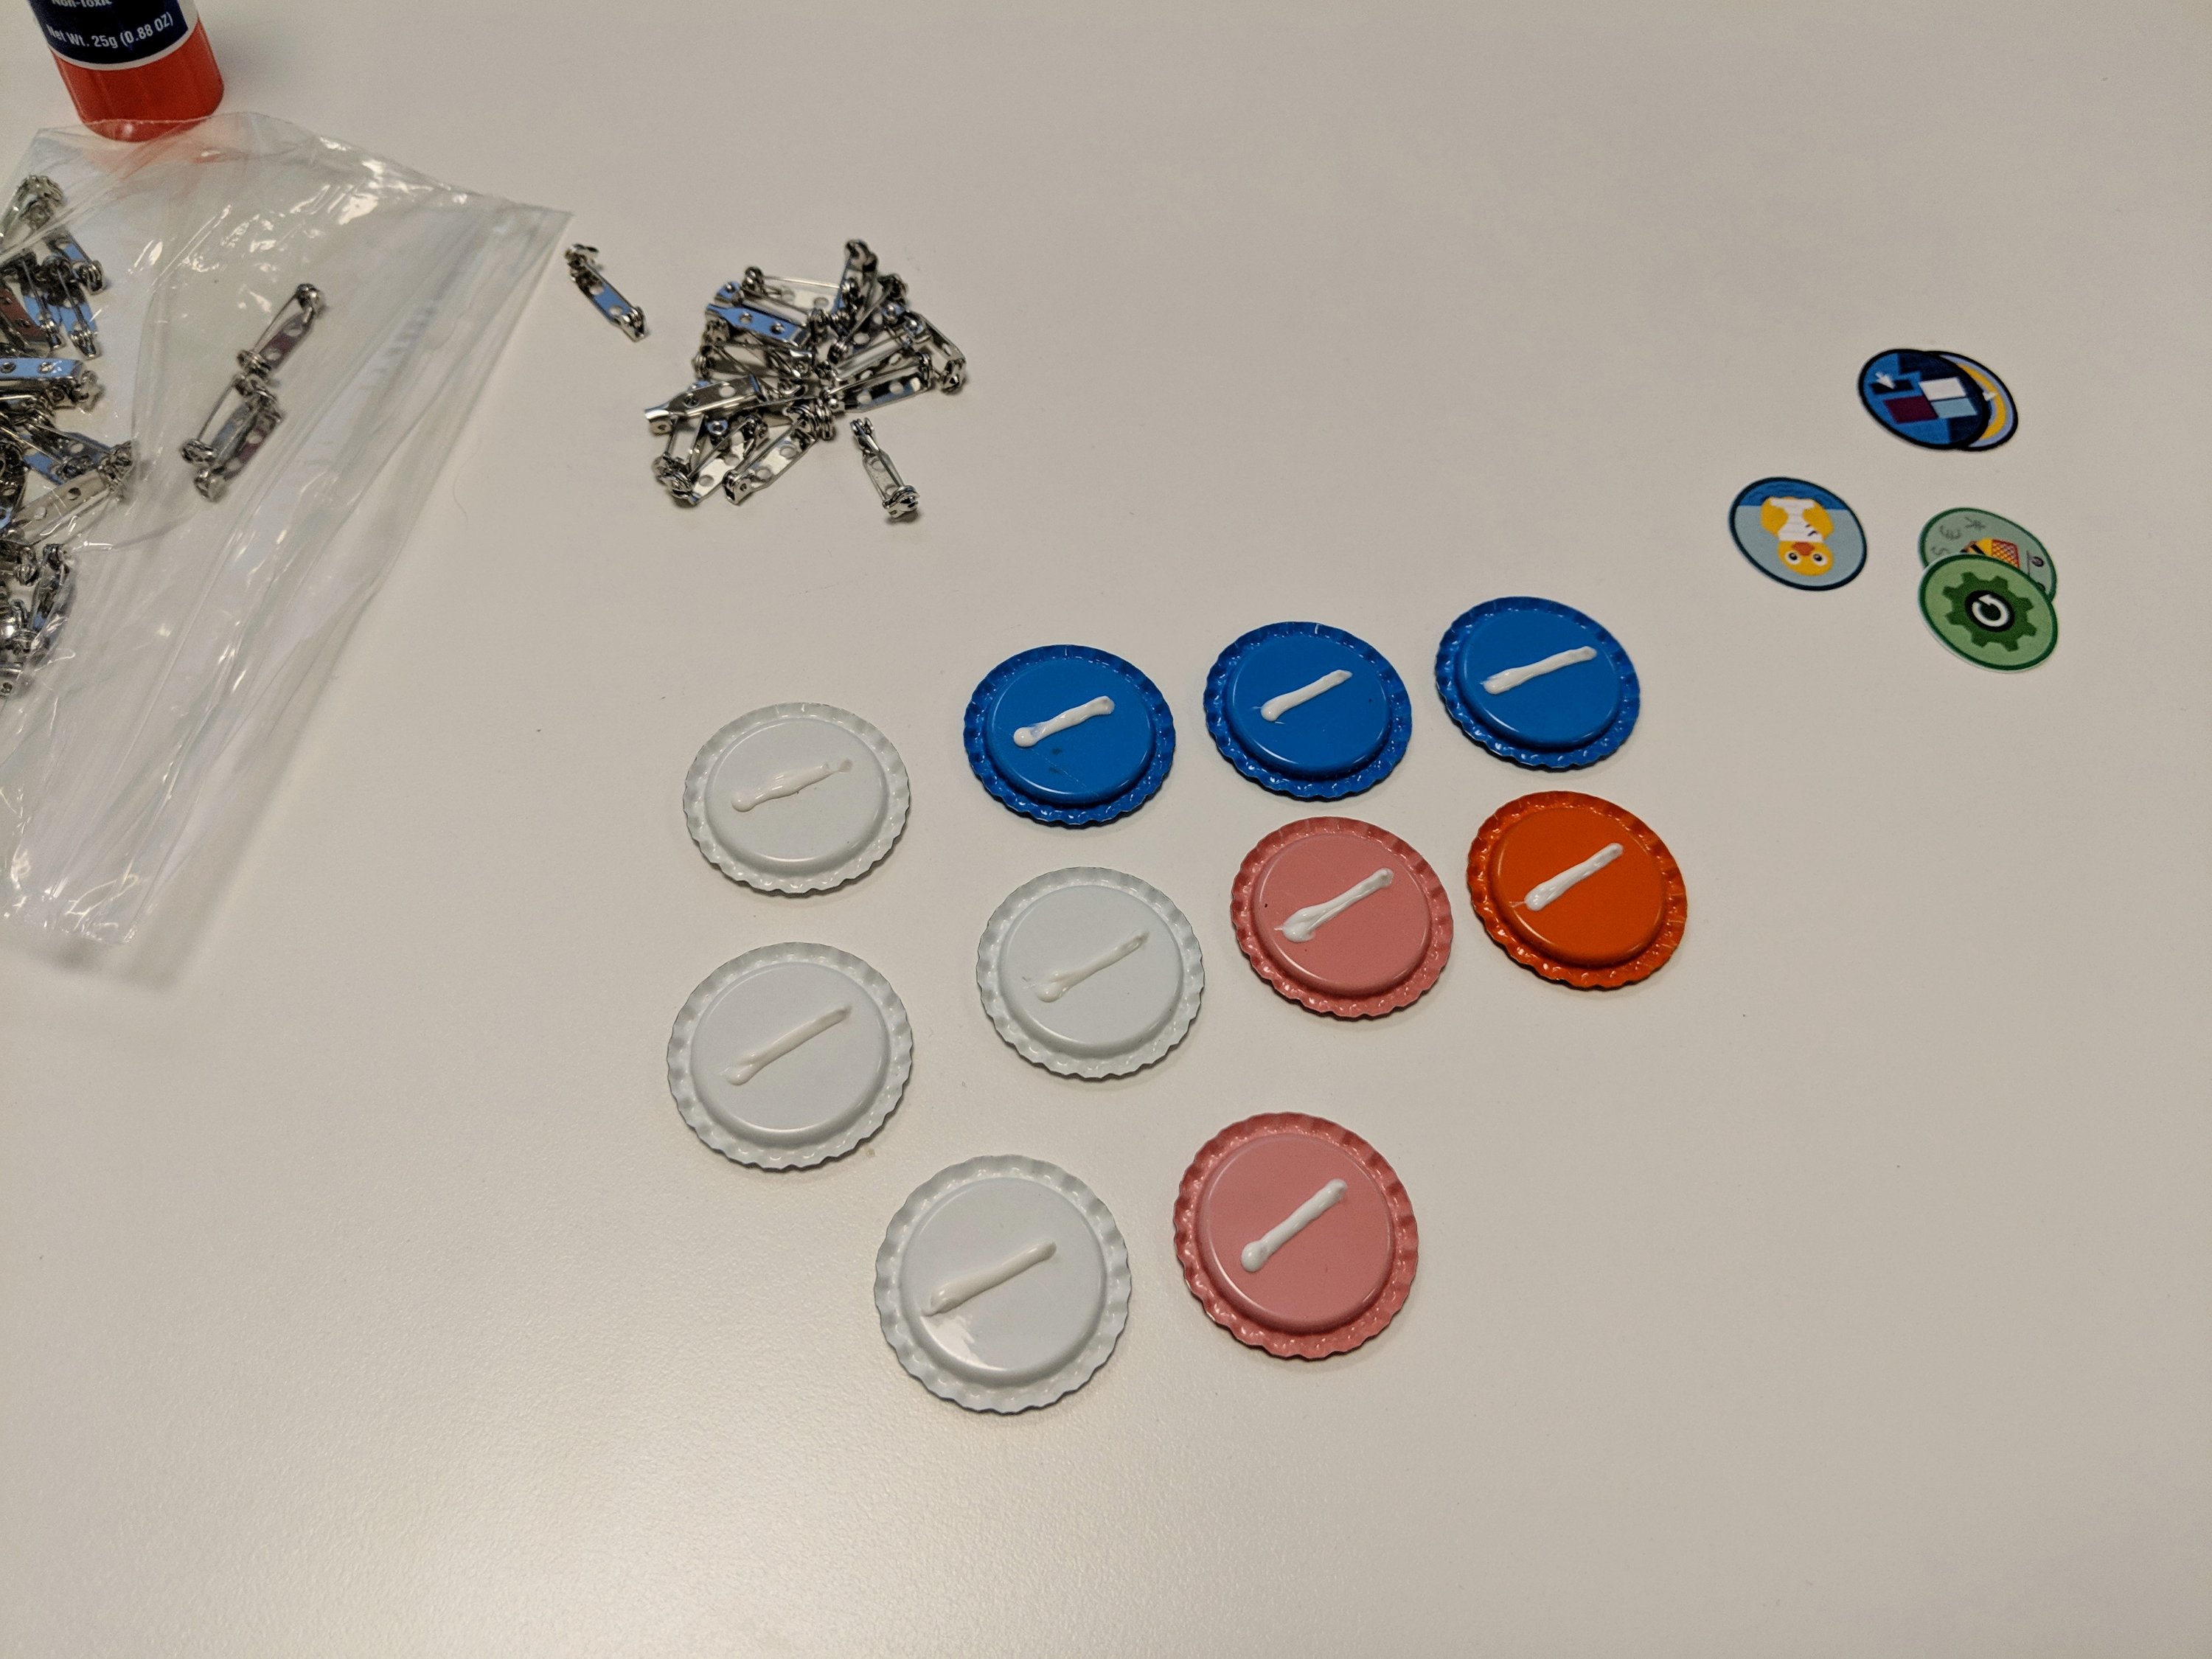
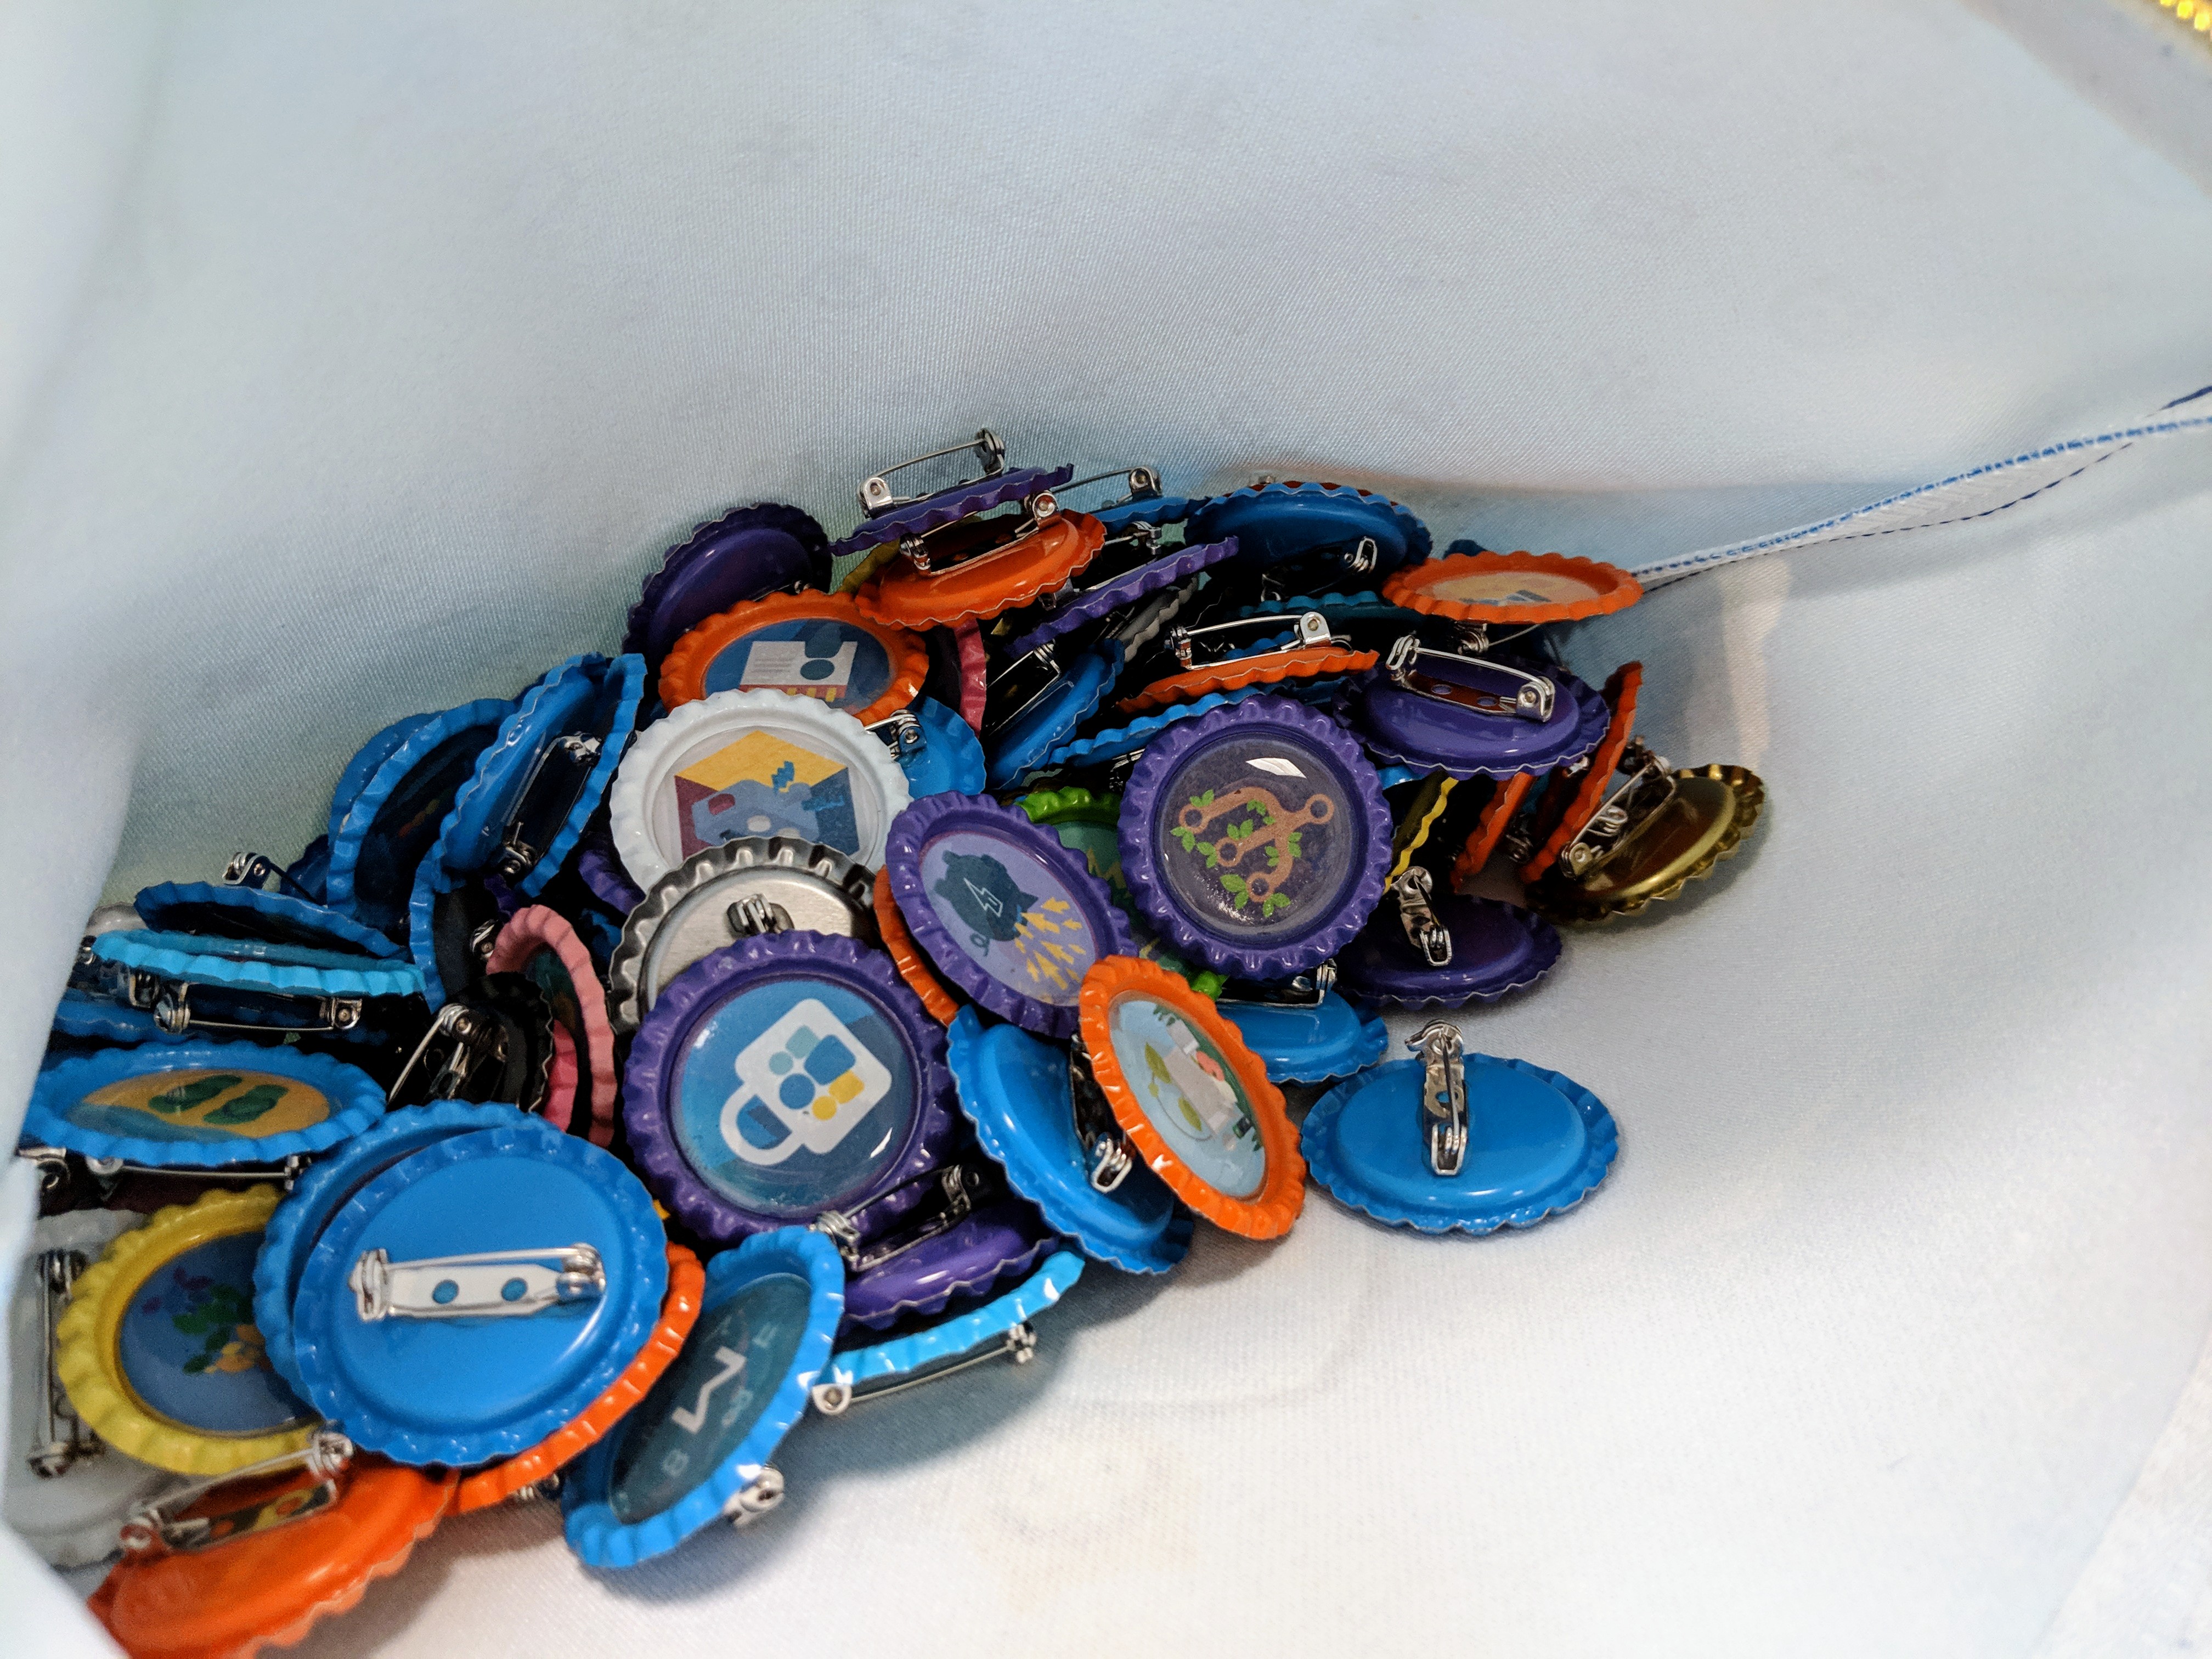
Step 4: making them wearable
Firstly, you obviously don’t HAVE to wear these. But it would be super cool if you did! All you need to do is apply some glue to the back of your bottlecap and then stick on your pins. Depending on the type of pins you got, you may need to pay attention so your pin isn’t sideways, etc. You could also turn these into magnets! They would make fun office decorations, or even just push pins on a bulletin board. I was kind of dreaming of turning them into a cloud mural on a whiteboard! These beauties have lots of possibilities, for sure.


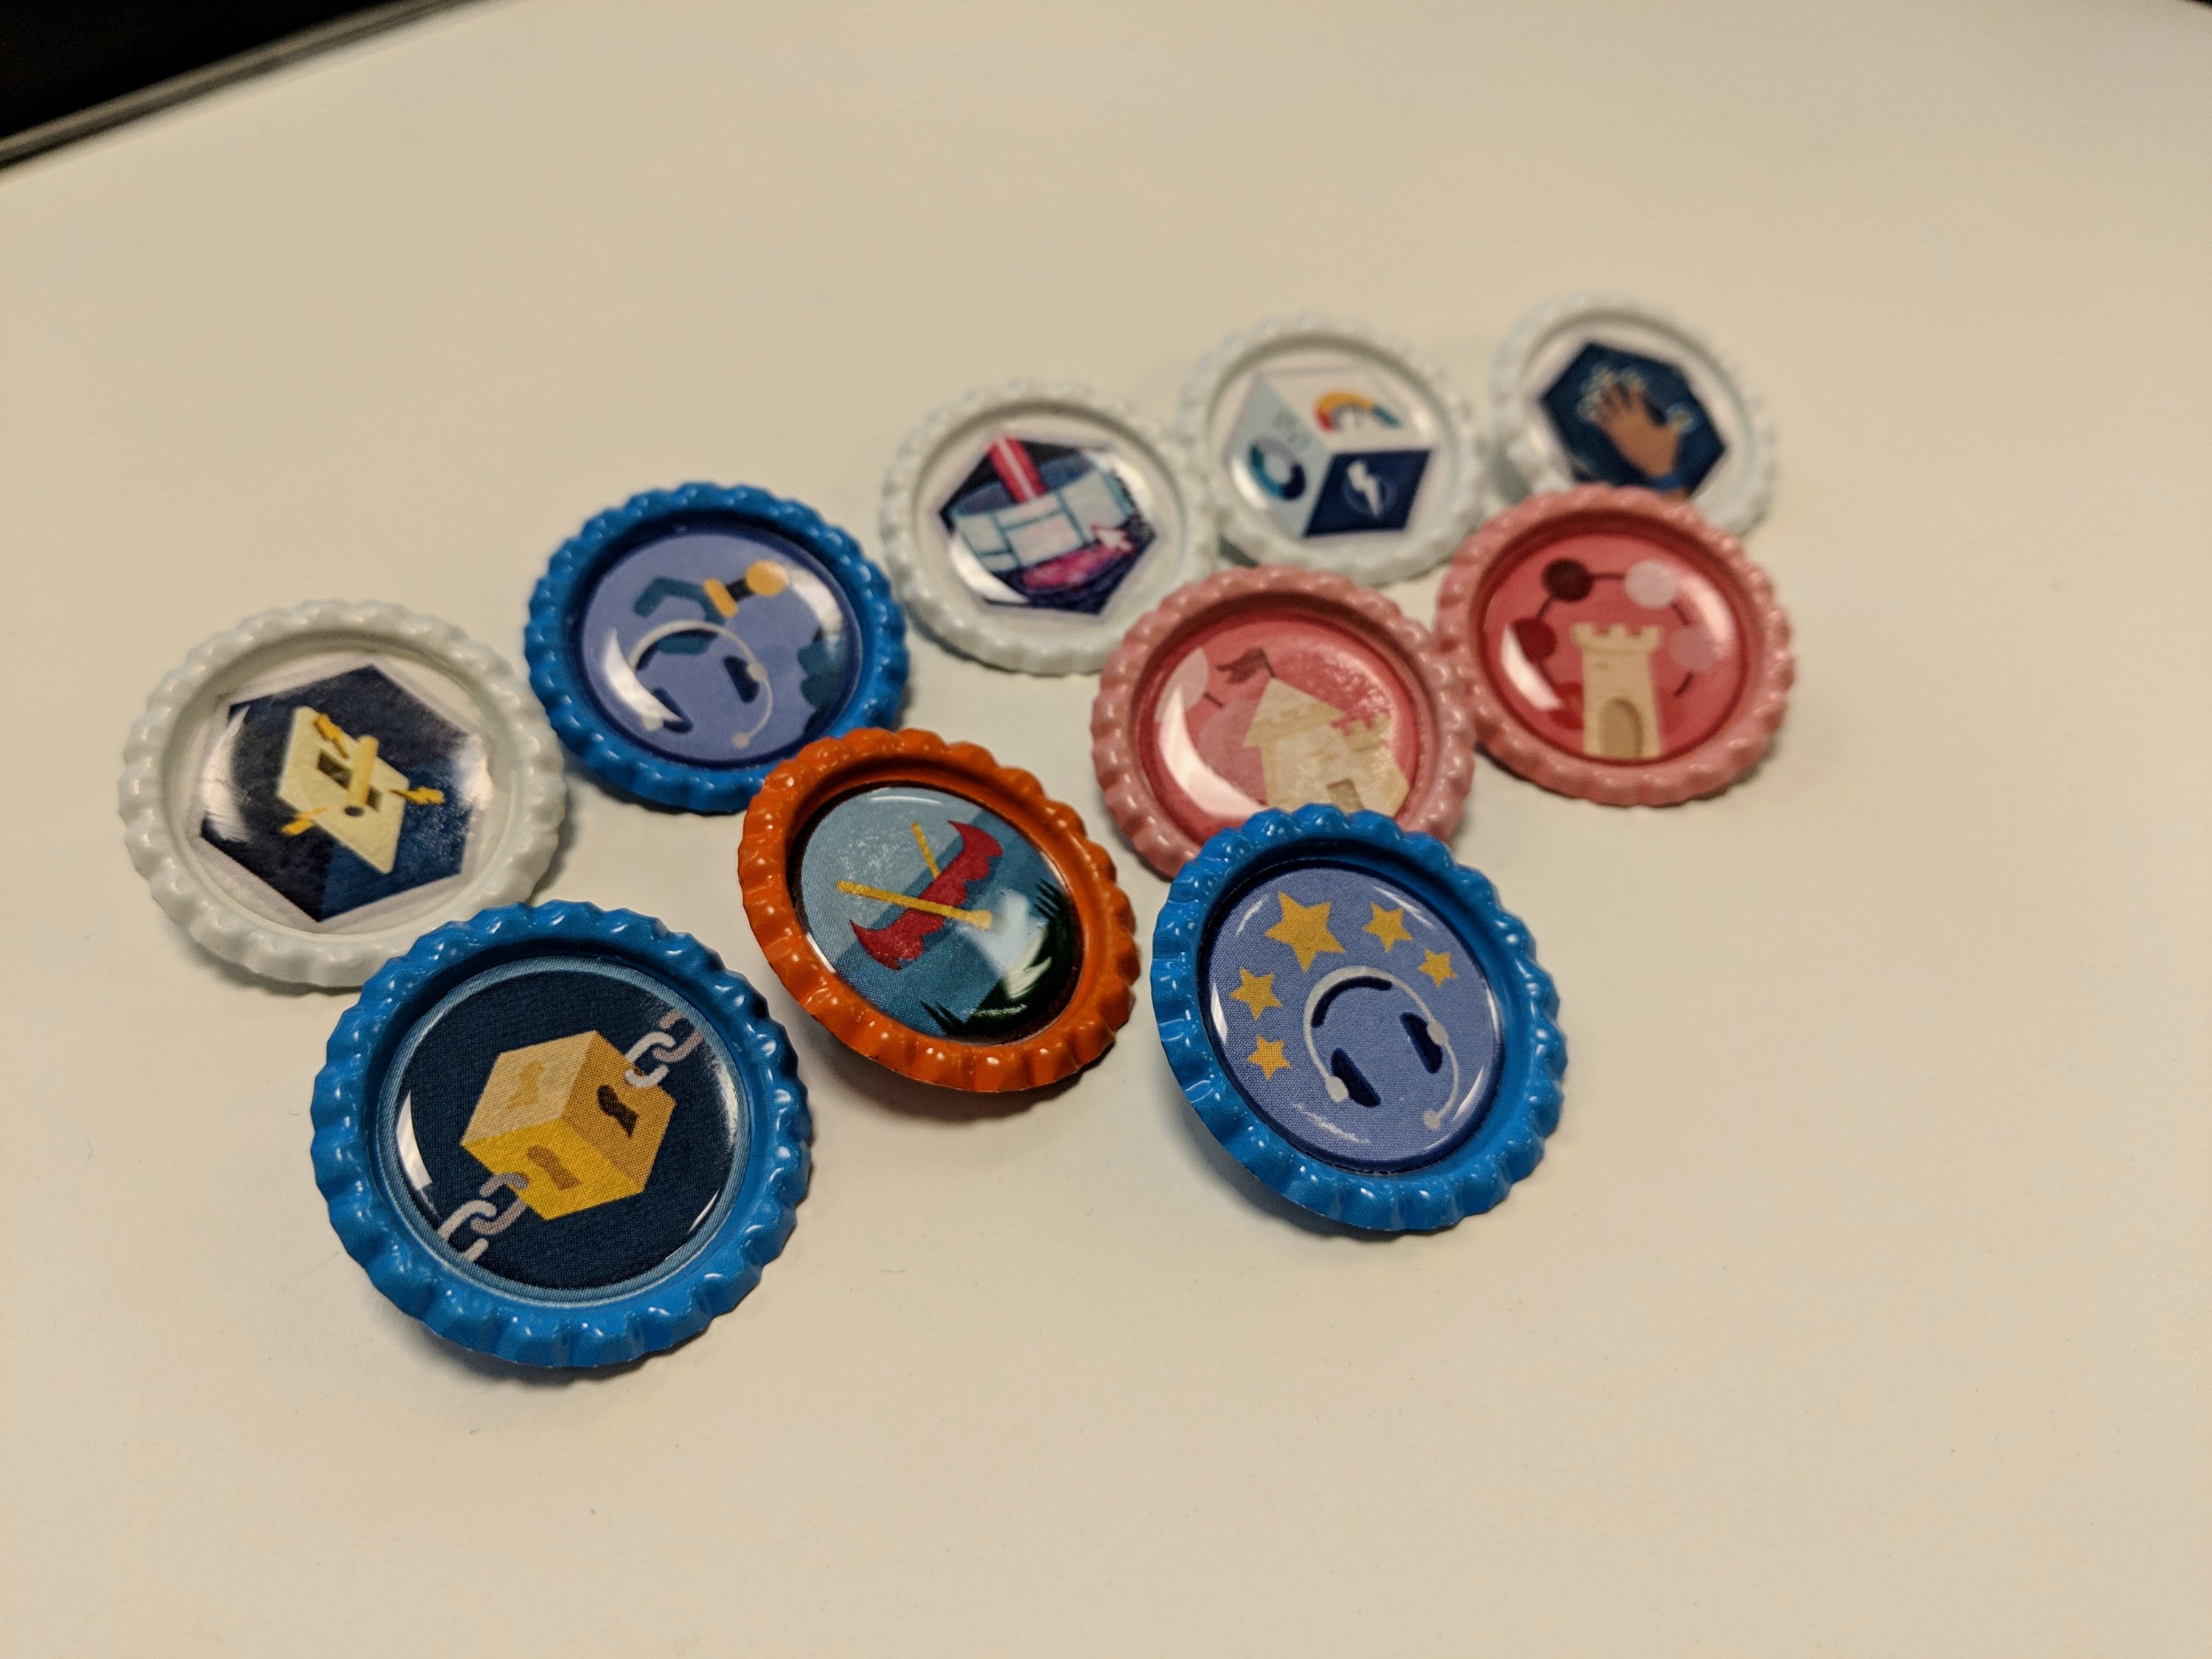
And that’s a wrap!
This would also be a fun activity to do together or hand out at the end of a Trailblazer Community Group meeting, especially if you earned a badge together. We hope you have fun both making and wearing your badges! If you make a set of your own, be sure to share them using #forceforfun so we can see and celebrate with you!

Pingback: #RoadtoDF19: What to wear to Dreamforce ’19 – Force for Fun